- Home
- Photo Galleries
- Portrait Photography
- Landscape Photography
- Street Photography
- China
- Ethiopia
- India
- Holy Ganges
- Varanasi
- Varanasi Ganga Aarti
- Varanasi, Manikarnika Ghat
- Varanasi Streets & Alleys
- Varanasi Demolition
- Varanasi Fruit Market
- Sarnath
- Brick Kilns
- Tamil Nadu, Chennai & Mamallapuram
- Tamil Nadu, Fort Tirumayam & Madurai
- Tamil Nadu, Tiruvannamalai & Thanjavur
- Kerala, Munnar
- Kerala, Peryiar
- Kerala, Backwaters
- Kerala, Kochi
- Kazakhstan
- Myanmar
- Senegal
- Uzbekistan
- Travel Blog
- China
- Ethiopia
- India
- Tamil Nadu & Kerala
- Varanasi
- Whato to do in Varanasi
- Varanasi Life along the Ghats
- Varanasi Death along the Ghats
- Varanasi Ganga Aarti Ceremony
- Varanasi demolished to honor Shiva
- Varanasi Fruit Market
- “Varanasi, A Journey into the Infinite”
- Sarnath
- All about River Ganges
- Holy Shit. All about Indian Cow Dung
- Clean India Project
- Brick factories
- Tilaka, pundra, bindi: what is the mark on Indian foreheads?
- Kazakhstan
- Mongolia
- Ulaanbaatar, the coldest capital in the world
- What to do in Ulaanbaatar
- Chinggis Khan Museum, 6 floors of Mongolian history
- Gorkhi-Terelj National Park and Bodgkhan Natural Reserve
- Altai Mountains, Things to do in Olgii and Sagsai
- Living with the Eagle Hunters
- Sagsai Eagle Festival
- Navrus Festival
- Xöömej, Mongolian throat singing
- Mongolian Food
- Myanmar
- Senegal
- Uzbekistan
- Latest Posts
- Photography Blog
- About
- Prints
Travel Photography. How to Get the Most Out of Lightweight Camera Gear
Useful Tips and Some Secrets for Getting the Most out of ightweight Camera Gear. When I first became interested in travel photography, I often read articles in specialized magazines searching for answers to my many doubts. Why weren’t my photos as good as I wanted them to be? What were the practices of professional photographers a beginner like me didn’t know about? I always had the feeling that I was given useful advice, but never anything definitive.
© Article and Photos by Andrea Marchegiani. Unauthorized reproduction prohibited.
Permission granted for publication in PROGRESSO FOTOGRAFICO N. 62, March 2020.
Share with your friends:
When I first started getting into photography, I often read articles in specialized magazines searching for useful tips. Why weren’t my photos as good as I wanted them to be? What were the practices of professional photographers a beginner like me didn’t know about? I always had the feeling that I was given useful advice, but never anything definitive.
Because of this, I promise not to hold back anything about how I do my work. If I have a secret about how I capture my shots, you’ll discover it by reading these pages. I also commit to not sugarcoating things. There are many things you can do with lightweight gear, but other things only the burden of a bulky backpack can guarantee. What matters is to have the right information to make the right choices.
Mandatory Disclaimer
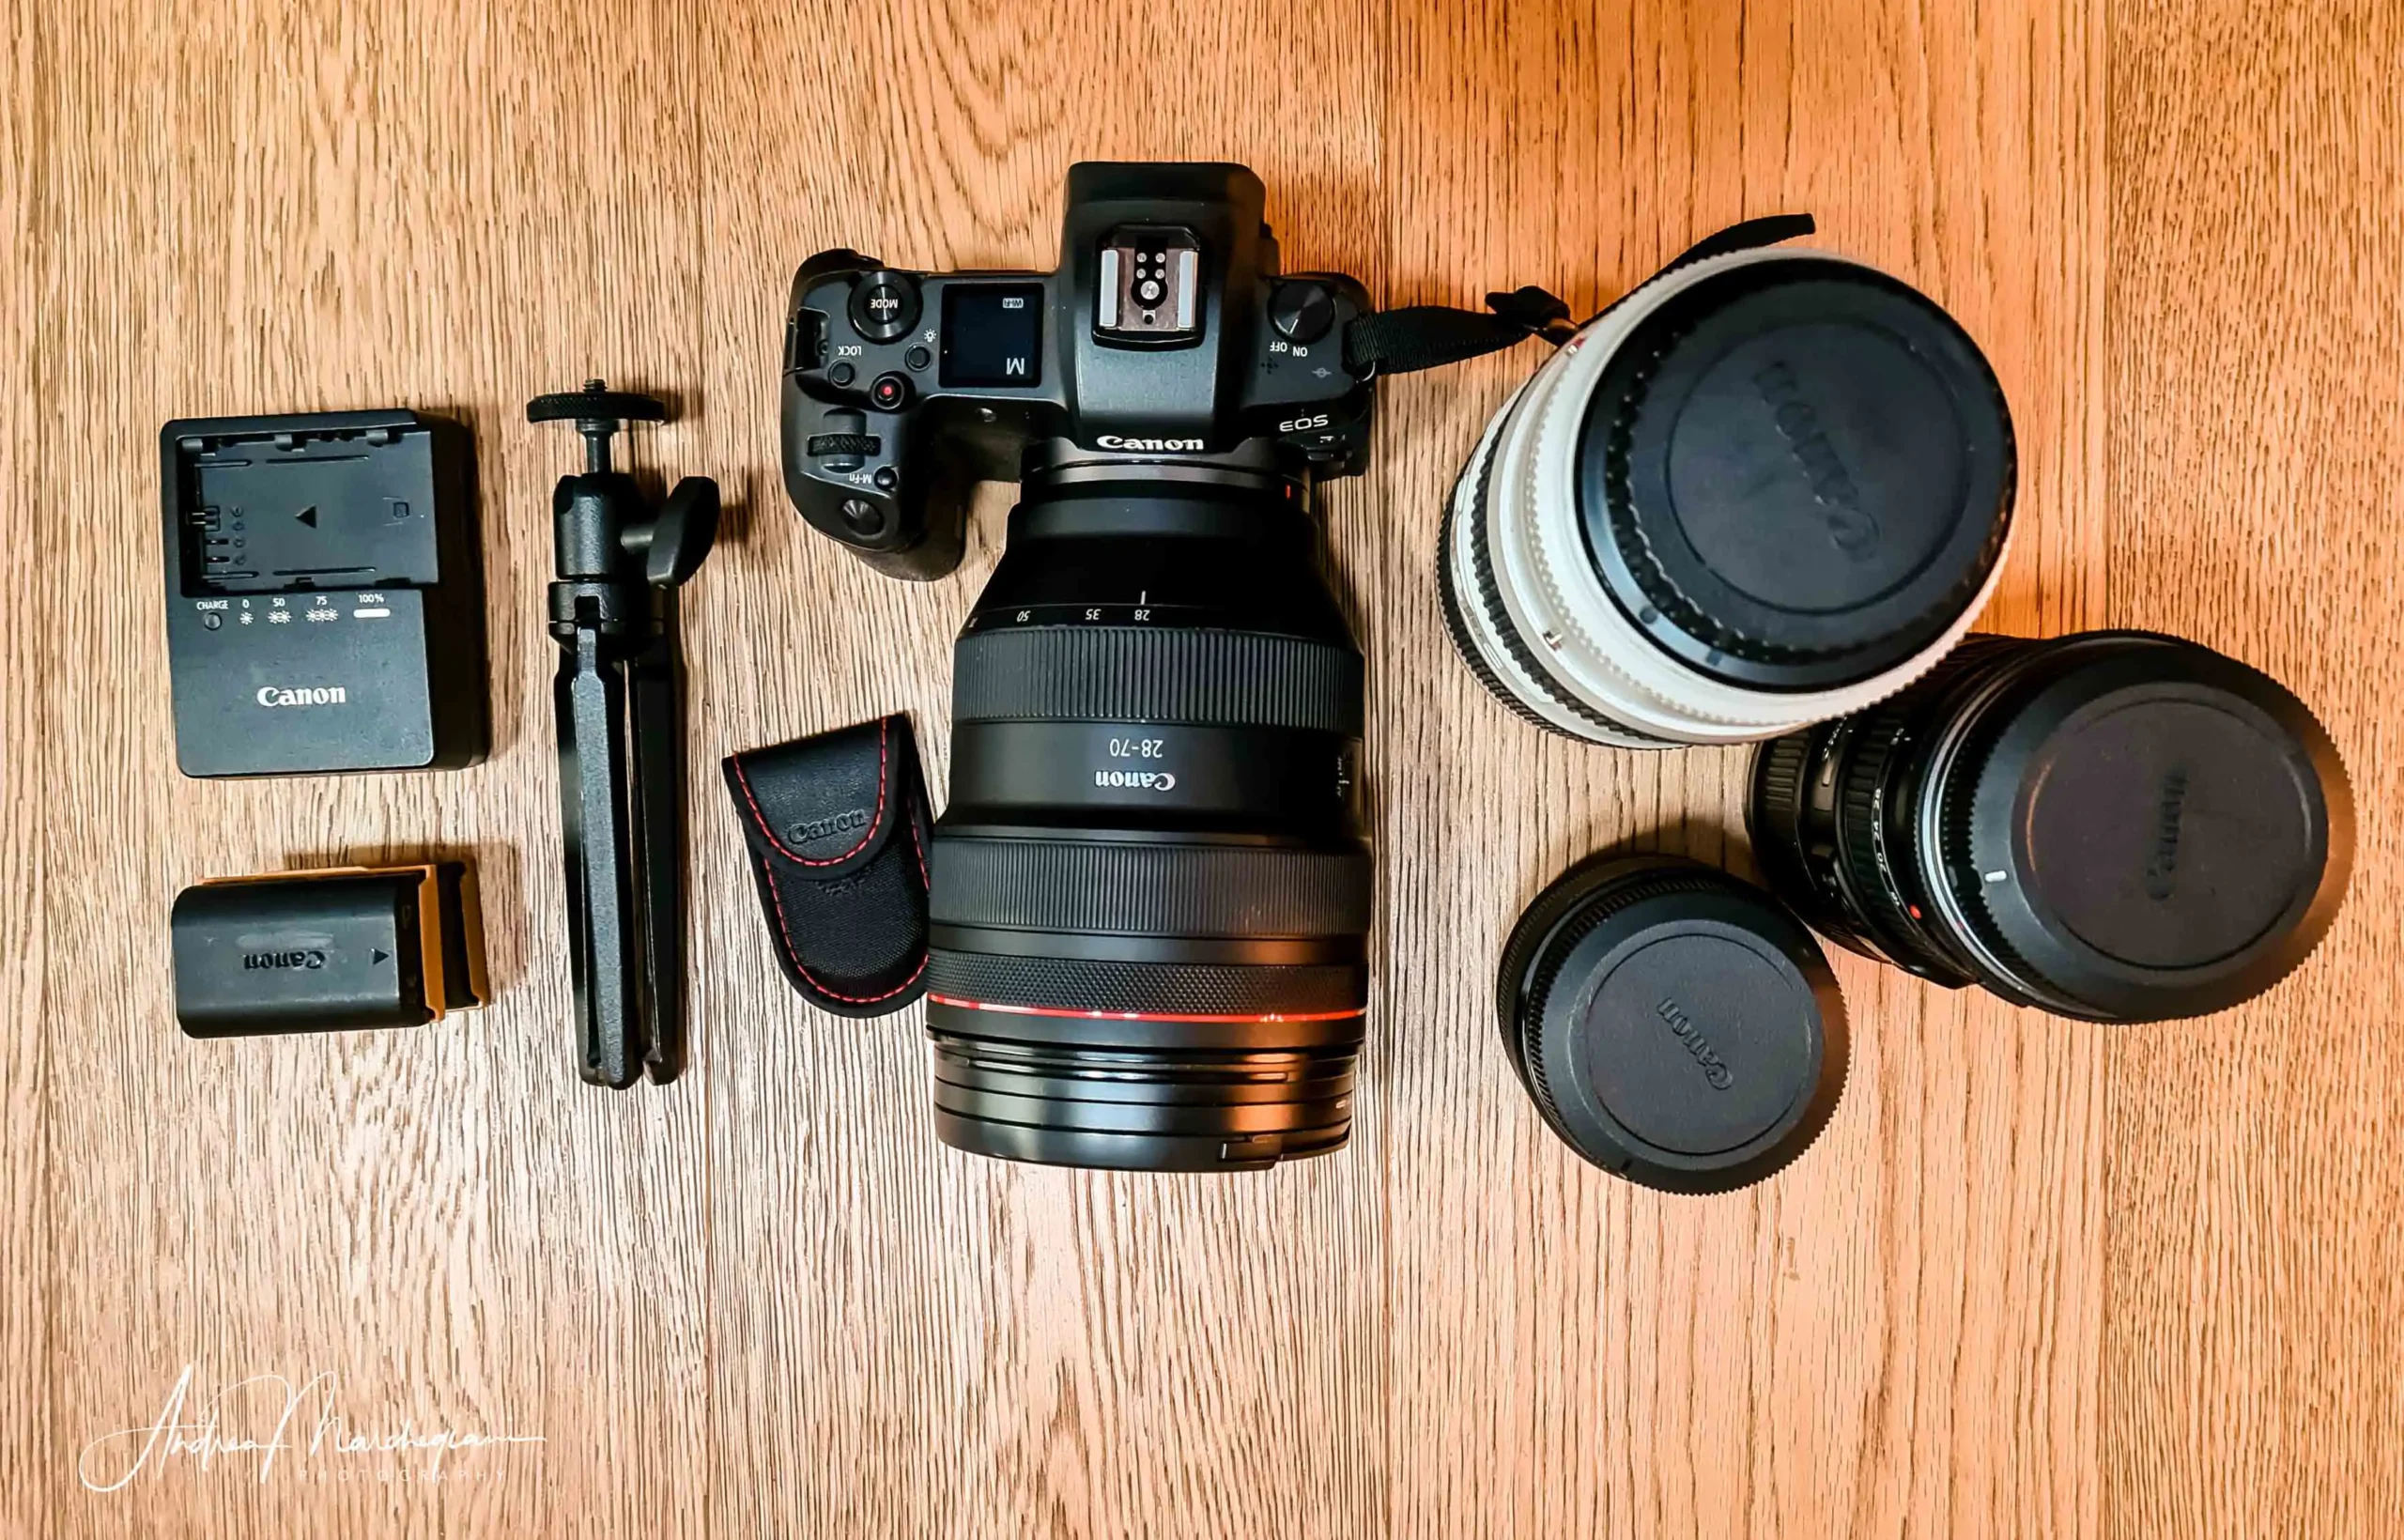
I would be hypocritical if I denied taking my photos with professional equipment: I have a full-frame camera, and I always carry a 24-70 f2.8 lens, which I use as my go-to lens. Additionally, my bag always includes the 16-35 f4 and the 70-200 f2.8.
Nevertheless, I have to admit that sometimes I despise the weight I carry on my shoulders and envy those who rely on versatile mid-range zoom lenses. They may not be very bright, but you can overcome some limitations by using cleverness and experience. Here’s how.
The Photographer’s Eye
Anyone can take beautiful photos today, even with the latest generation smartphone. On social media, there are groups dedicated to those who only shoot with their phones, and the results are often remarkable. This demonstrates that the first equipment to bring along on a trip is not the camera but the photographer’s eye, which is the predisposition to observe the surrounding reality with interest and empathy and capture it with an interesting and personal vision of space.
If you feel that you lack a great sense of composition in your images, don’t despair. Every art form is a discipline that can be learned. Buy a manual, read specialized magazines, visit exhibitions, or join an online forum.
Just as going on vacation abroad is not enough to turn a tourist into a traveler, the right equipment alone will not turn you into great travel photographers. However, choosing the equipment will force you to reflect on the type of photos you want to take, and that in itself is a great start.
Understand the Type of Trip You’re Taking
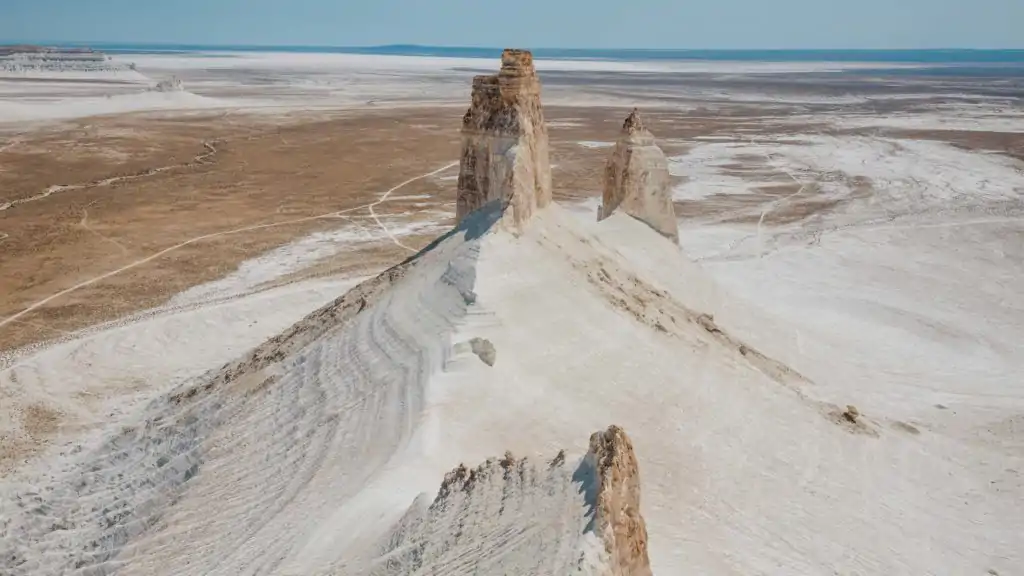
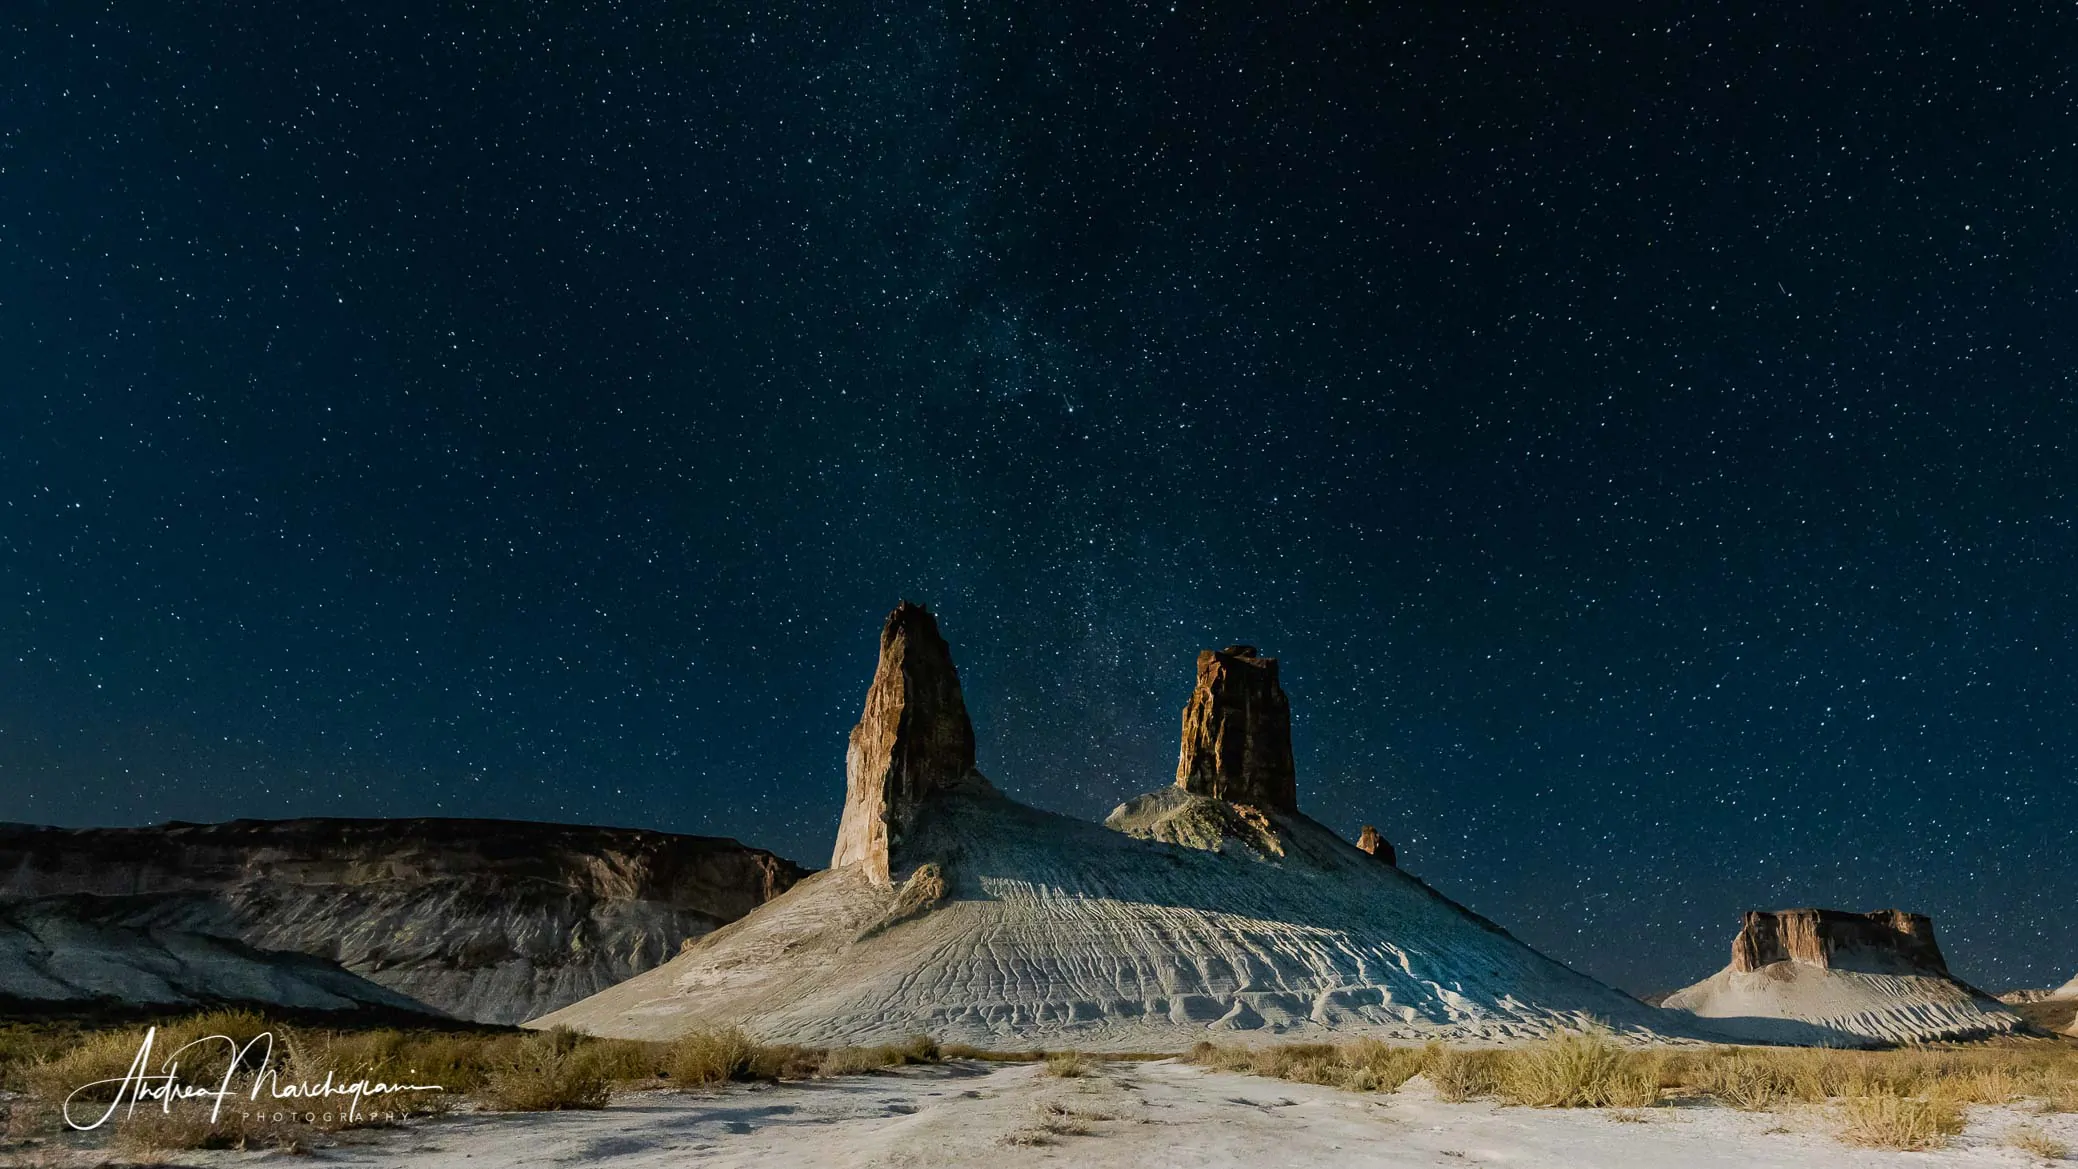
In the past few months, I have visited two very different destinations. In August, I spent a week in Mangystau, a Kazakh desert among the least visited in the world, where it’s easier to come across a camel than another human being. I brought my telephoto lens, but I never used it since I mostly took landscape photos. Instead, I often used a tripod because I wanted to capture views of the canyons under the starry sky.
In December, I traveled to Varanasi, India, the photographer’s paradise for those who love crowds. The opportunities for street photography and portraits are endless. Instead of ultra-wide-angle lenses, I preferred a more versatile zoom lens, the 24-70 f2.8.
The Photographer’s Bag
If you don’t want the inconvenience of a heavily loaded bag, do your best with just the essentials, but choose them carefully. The basic equipment includes a camera body and a lens, at least one spare battery, and the battery charger.
Regarding the camera body, today the market offers a wide range of solutions. It’s no longer necessary to buy a full-frame camera to have large file sizes or good high ISO noise management. However, these are the two factors to consider: if you can’t get close enough to the subject you’re framing, being able to crop the image in post-production will come in handy. If you’re shooting in low-light conditions, being able to raise the ISO to at least 6400 without the noise ruining the file is essential. Your camera body will accompany you for several years, so allocate a fair portion of your budget to it.
As for lenses, versatility is the secret when traveling. You’ll constantly be moving to unfamiliar places, and it’s impossible to predict what will catch your eye. You need to be vigilant and ready. Don’t rely on being able to change lenses: some events happen quickly and unexpectedly, so opt for an all-purpose zoom lens. If I had a limited budget, I would definitely go for a 24-105mm lens, which allows you to capture all types of photographs, from landscapes to portraits, as well as distant details. If I had the opportunity to buy a second lens, I would focus on brightness: a 50mm or 35mm prime lens to use when the evening comes, with minimal additional weight in your bag.
Make the most of what you have
Once you have prepared your bag and boarded your plane, you won’t have time for second thoughts. If you’re a perfectionist like me, you might doubt whether you made the wisest choice, but remember that the biggest limitation you’ll encounter is not in your equipment, but rather in the lack of originality and creativity.
What kind of reportage are you creating? Do you want to depict the places you’ll visit with formal rigor or a more liberated emotion? Make a checklist of all the photos you want to take and start imagining under what lighting conditions and at what distance from the subject you could capture them. In any case, regardless of your equipment, you’ll discover that you have many more possibilities than limitations.
Make the most of the midday hours
The best moments to capture breathtaking images are traditionally at dawn and sunset. The light is soft, warm, and strikes objects from the side, casting long shadows on the ground. There are photographers who exclusively shoot during these times. However, when traveling, you’ll have to learn to make the most of the midday hours because you won’t always be visiting your destinations at dawn or sunset. Moreover, the brightest hours are precisely when your mid-range zoom lens works best. To capture interesting shots, it’s often enough to properly isolate the subject and play with exposure compensation. Yes, this is one of the secrets I ignored as a kid. If you don’t think in terms of exposure compensation, you’ll never get the most out of your camera. When the sun is intense, there’s such a difference in brightness between the well-lit areas and the shadows that it’s impossible to avoid burning out some areas or making others too dark. No dynamic range can solve this, so you have to choose what matters most to you.
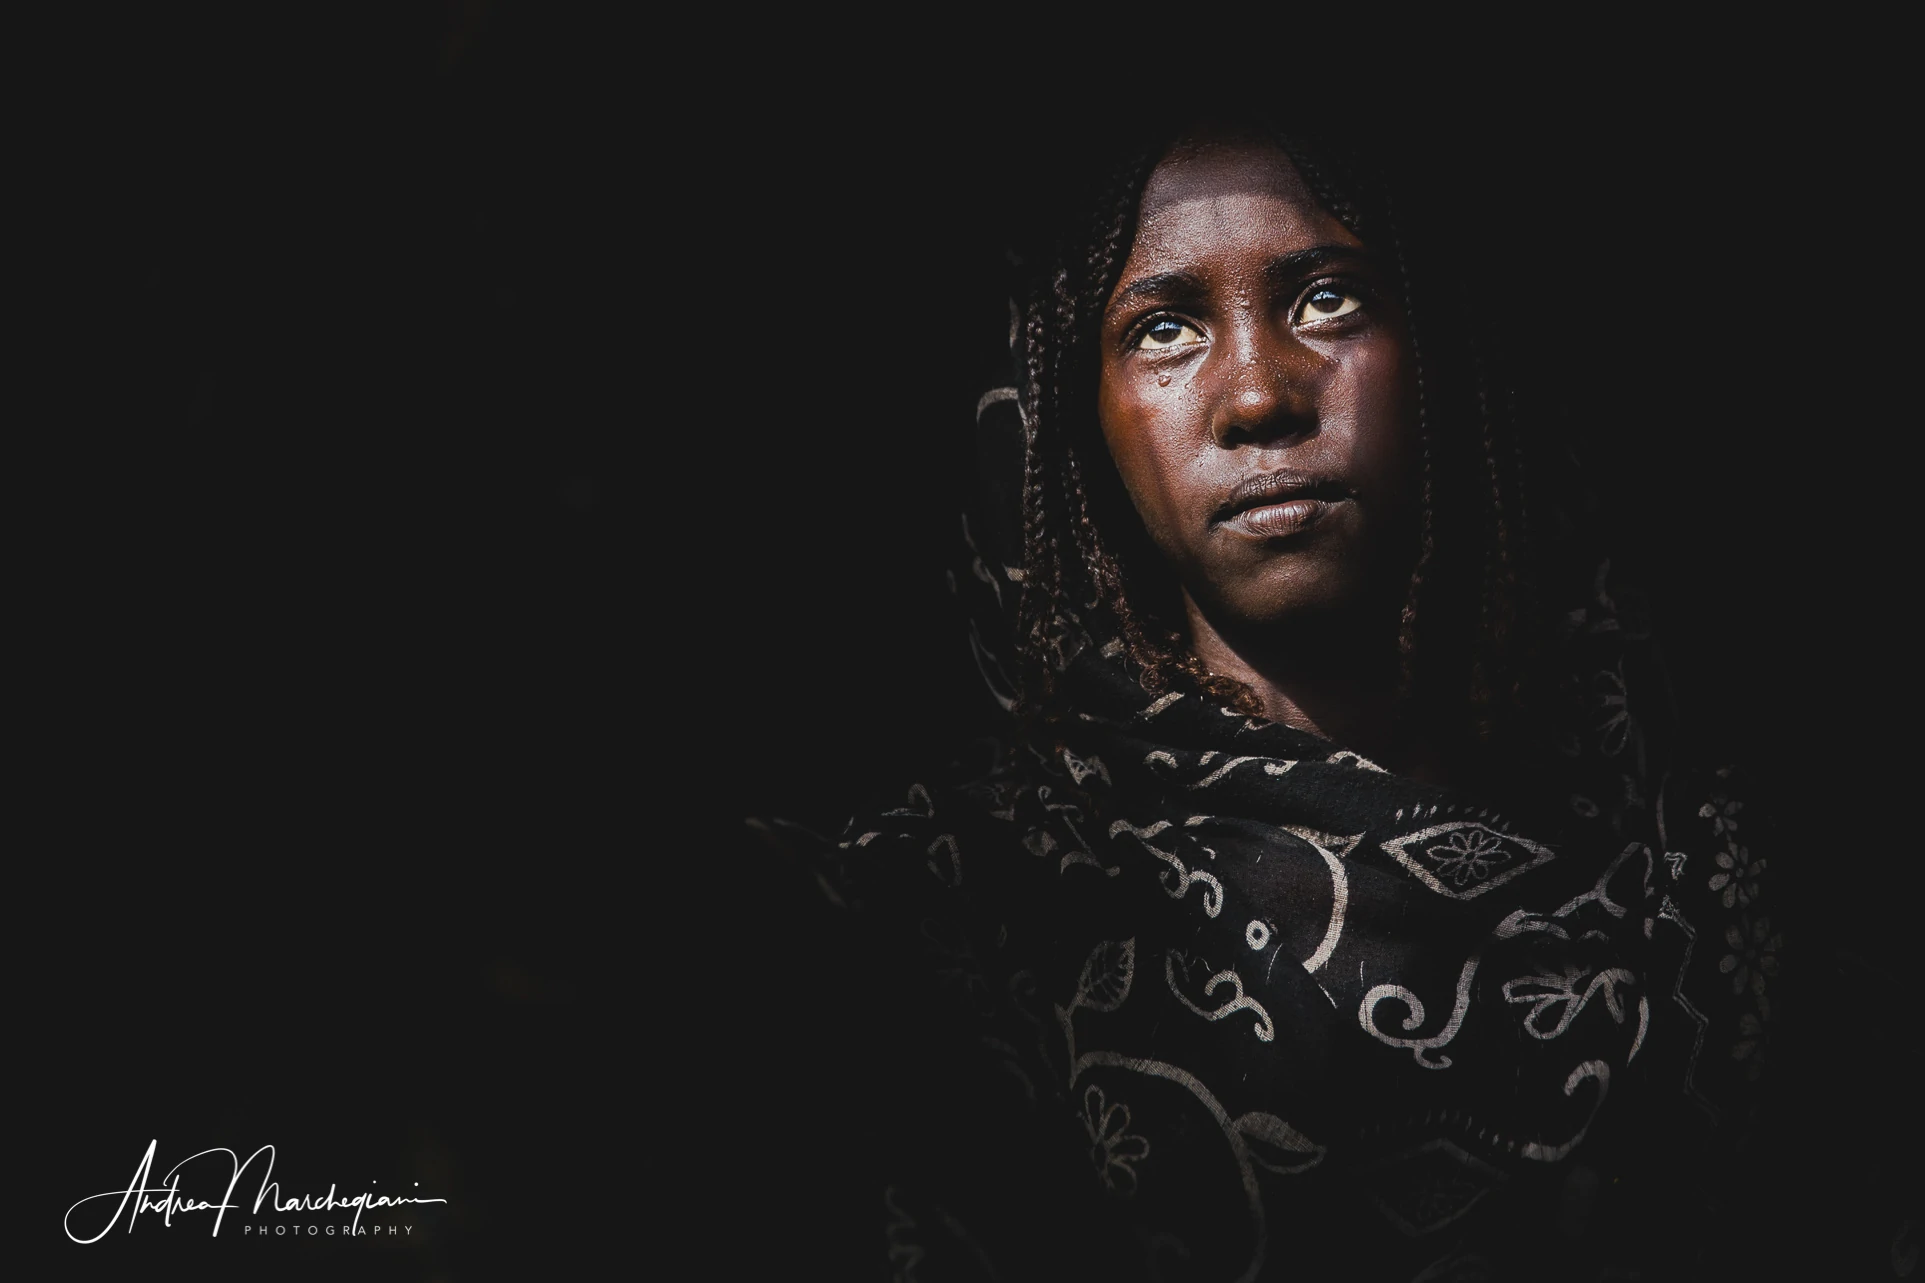
For portraits, for example, you can isolate the subject from the context using a long focal length and, depending on the case, you can underexpose/overexpose. You can achieve a high key or low key effect with a significant dramatic impact.
I used this technique in Ethiopia while visiting the Afar village of Asso Bole to photograph a young woman who was watching me hidden in the shadow of her hut. A ray of sunlight adorned her cheek. I underexposed the shot by over one stop, making the background very dark. The girl seems to emerge from the darkness, and her expression gains significant dramatic depth. Asso Bole is a village lost in the Danakil Desert and is extremely difficult to reach. It is where the fossil remains of the Australopithecus Lucy, one of humanity’s ancestors, were found. The photo captures the resilience of this people who have inhabited the desert since the dawn of time.
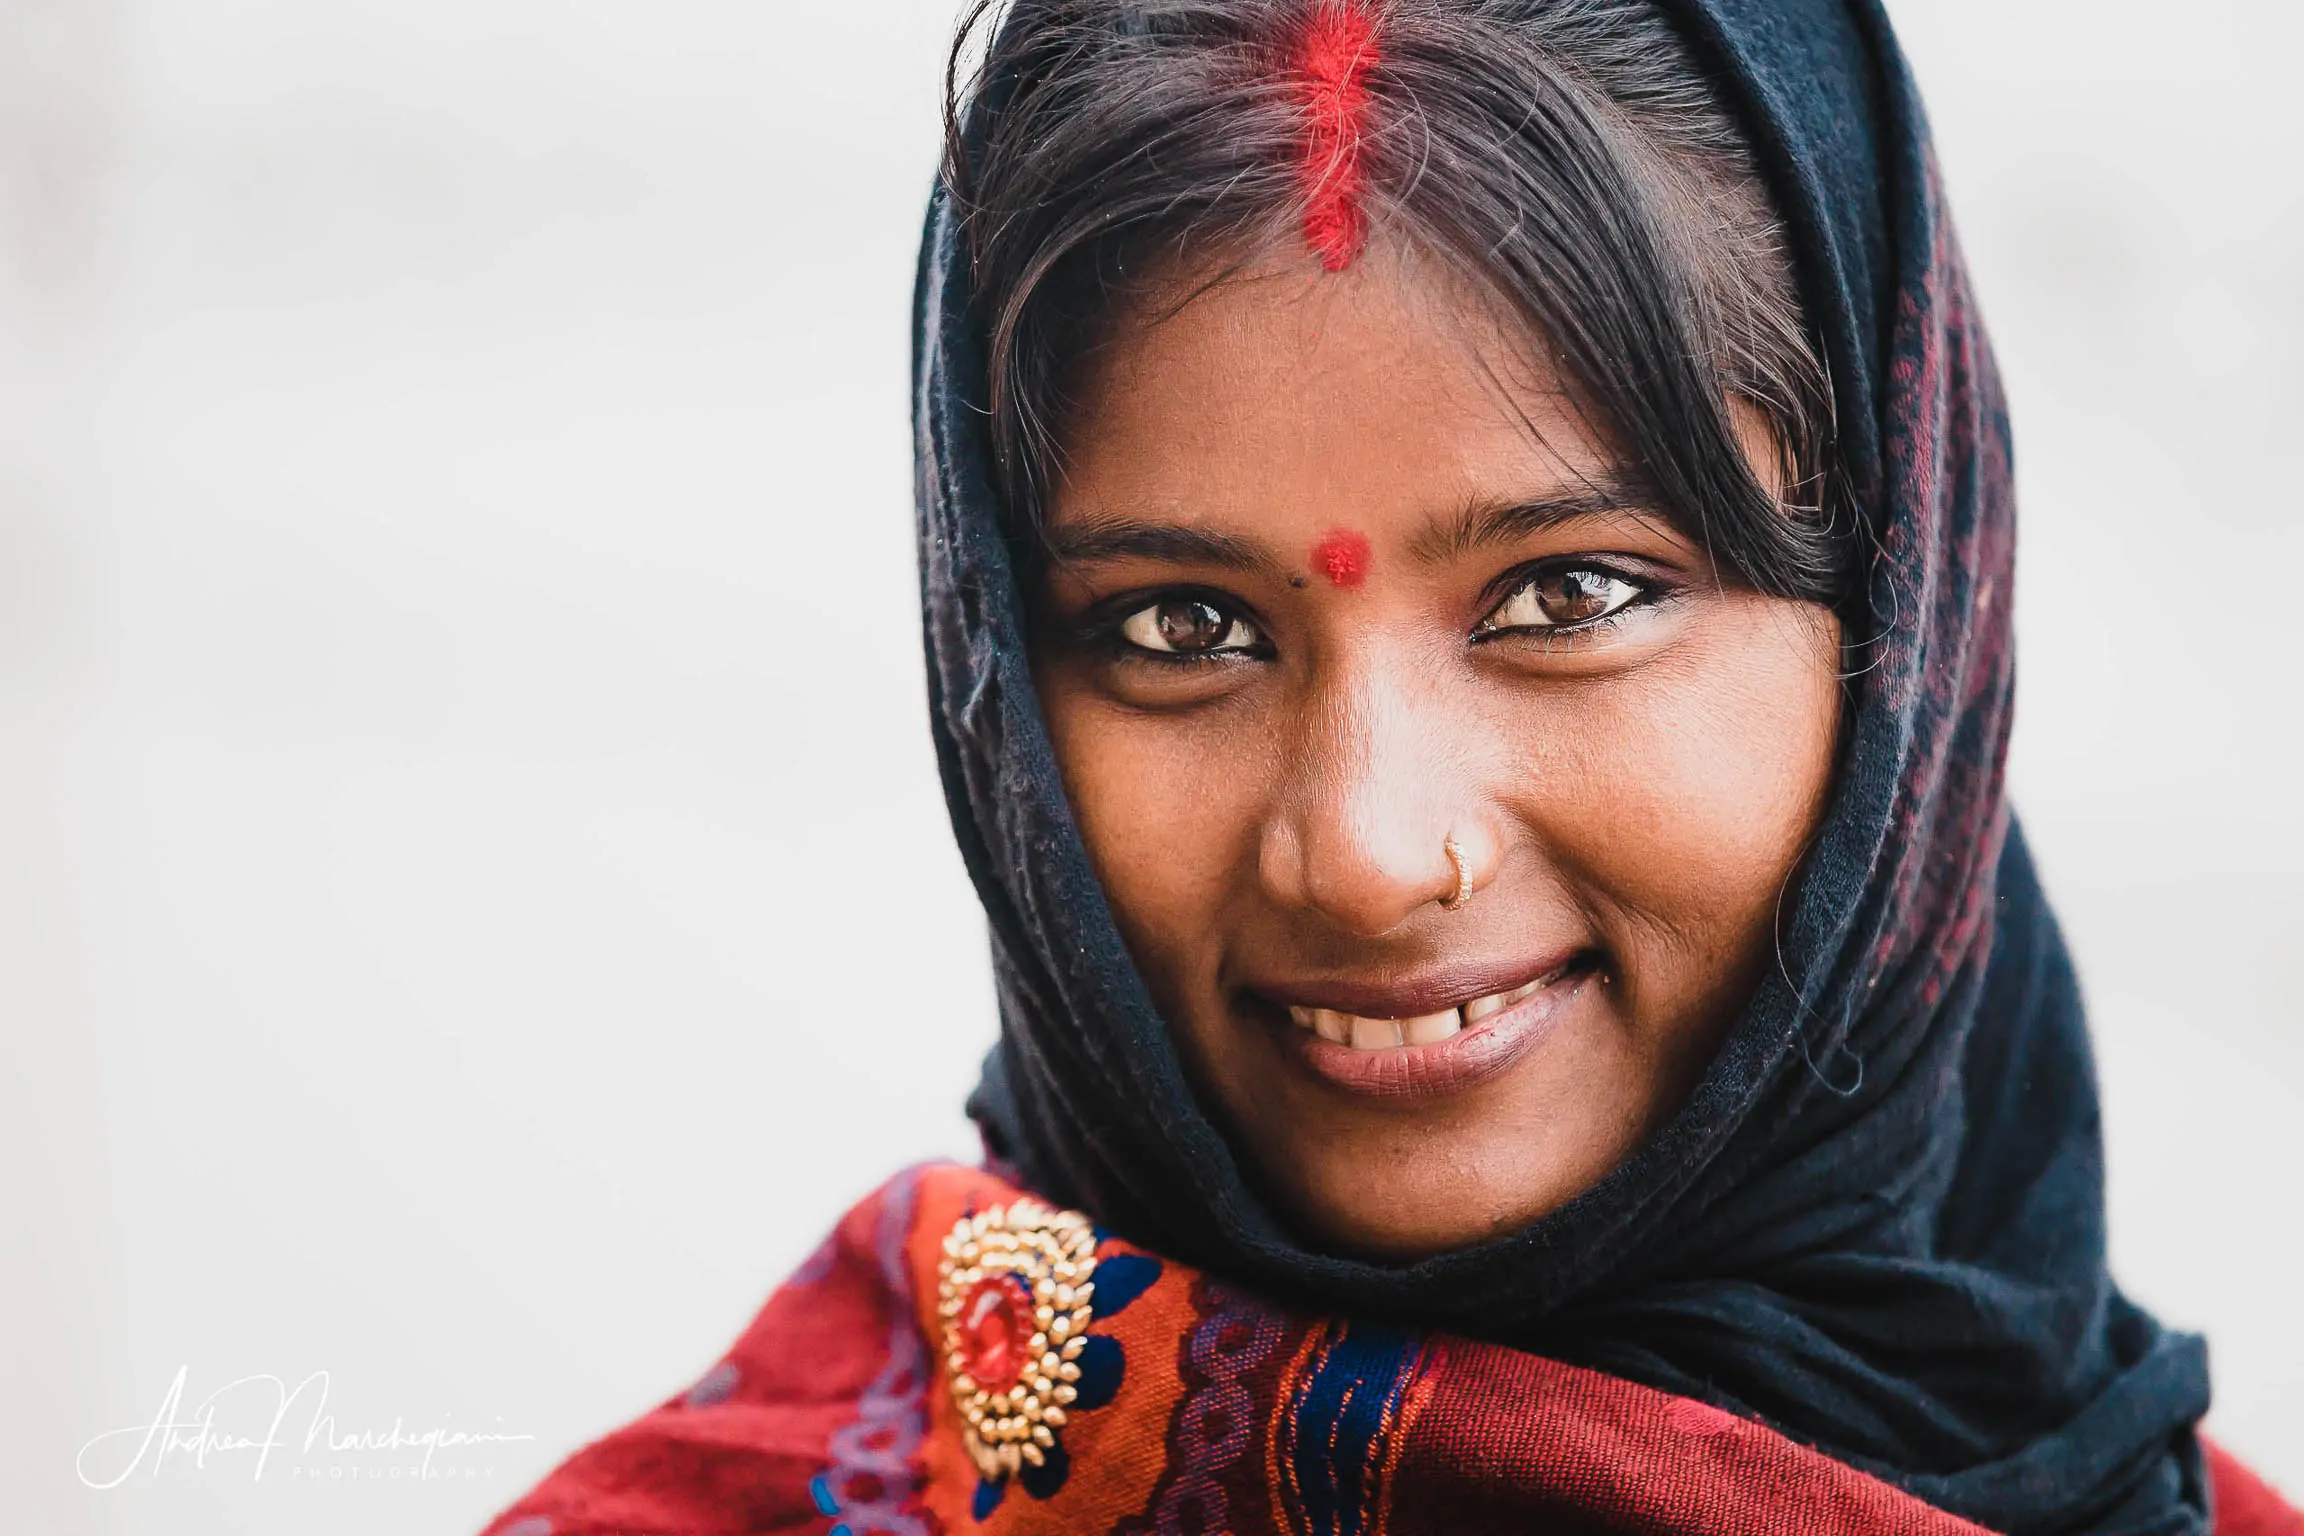
On the contrary, in Varanasi, I overexposed the shot of a young woman selling souvenirs to pilgrims. It was a foggy morning, the sky in the background was hazy and gray, and my subject was backlit. A center-weighted average exposure would have darkened her face, but a slight overexposure solved the issue, and the portrait appears as if it were taken in a studio setting.
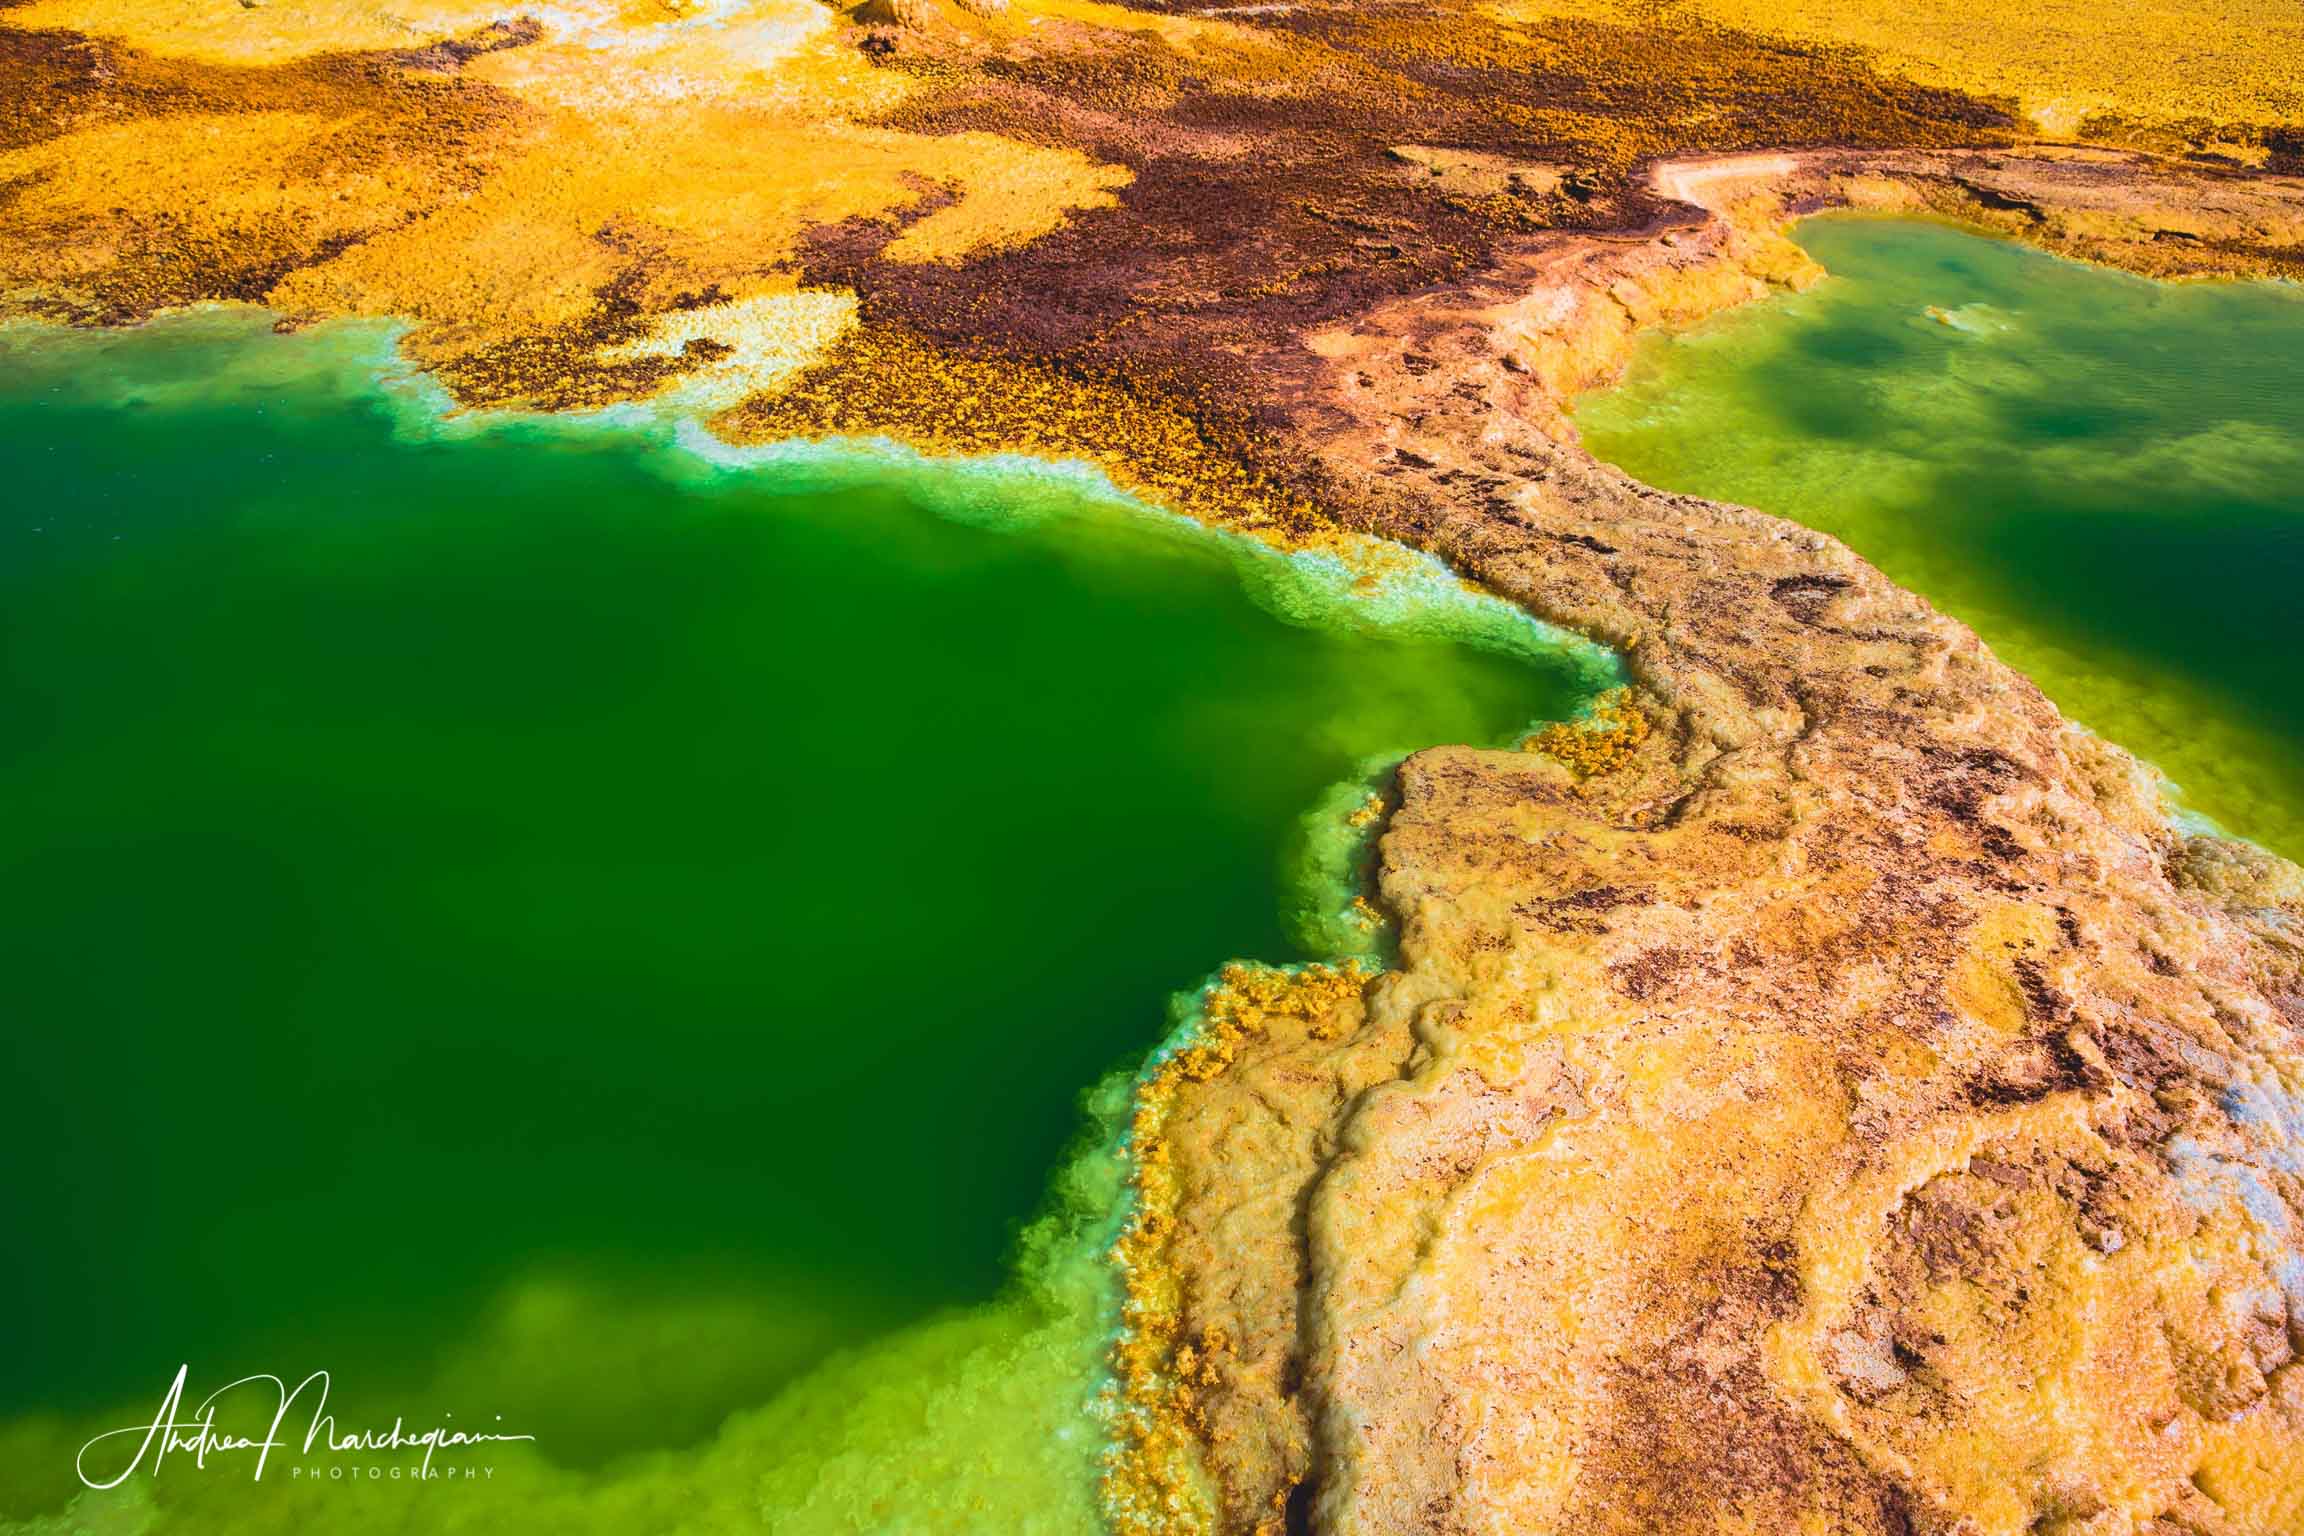
In landscapes, when the sun is high in the sky, you’ll need to manage flat and pronounced shadows, overly bright skies, and saturated colors. In this case, underexpose to ensure that you don’t blow out the blue of the sky, and then adjust contrast and exposure in post-production. If you have a tripod available, take three shots with different exposures and blend them to create an HDR image. You may not capture the atmosphere of a sunset, but you might be surprised by the result. In Mangystau, I reached the peak of the Bozzhira Canyon, the most stunning place in the Kazakh desert, with the sun directly overhead. The light was so intense that I could barely look through the viewfinder. Yet, as long as you avoid shooting directly into the sun, you can still capture pleasing photos.
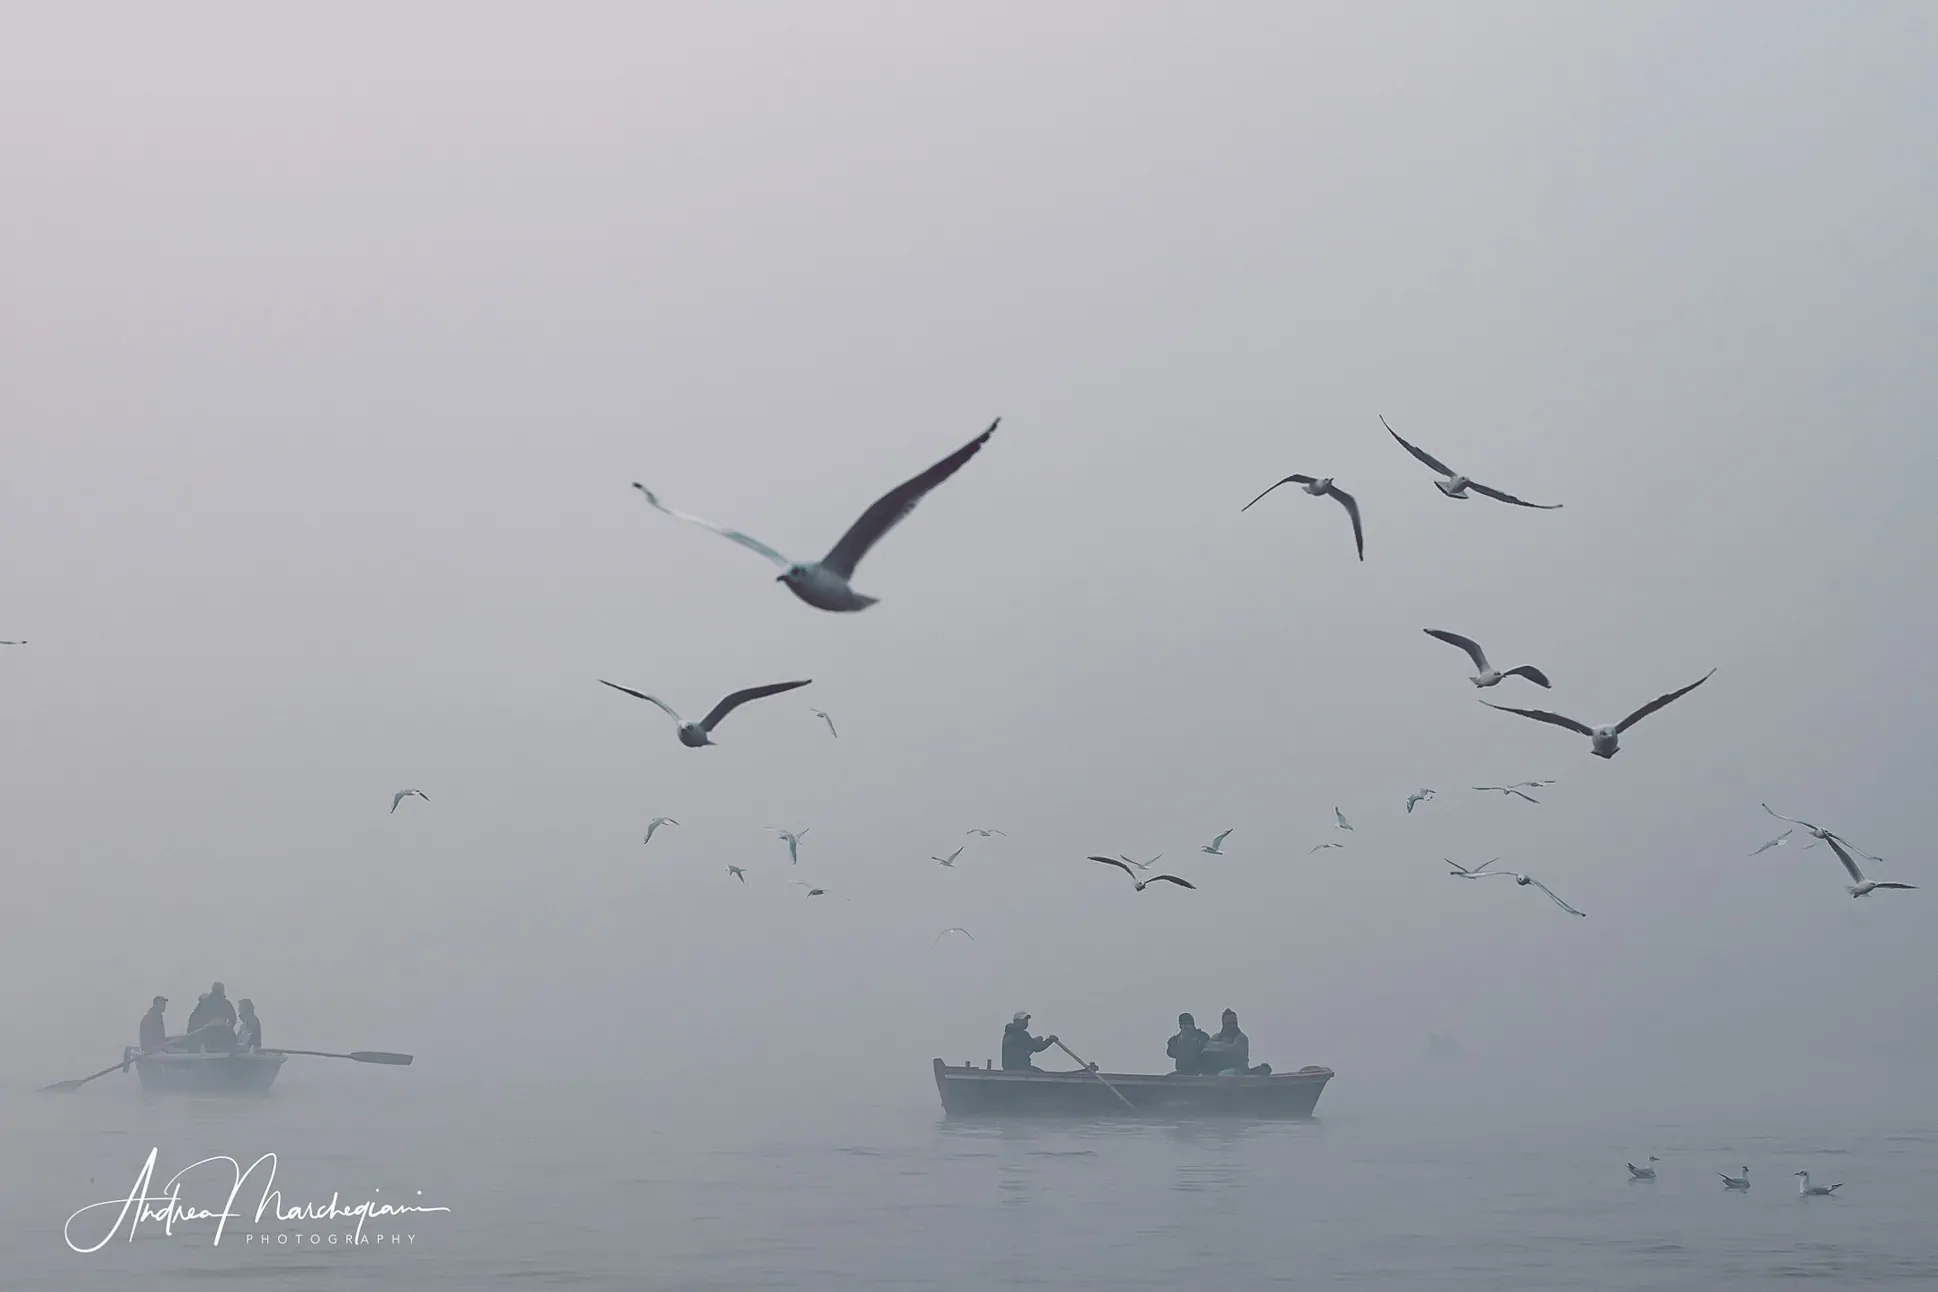
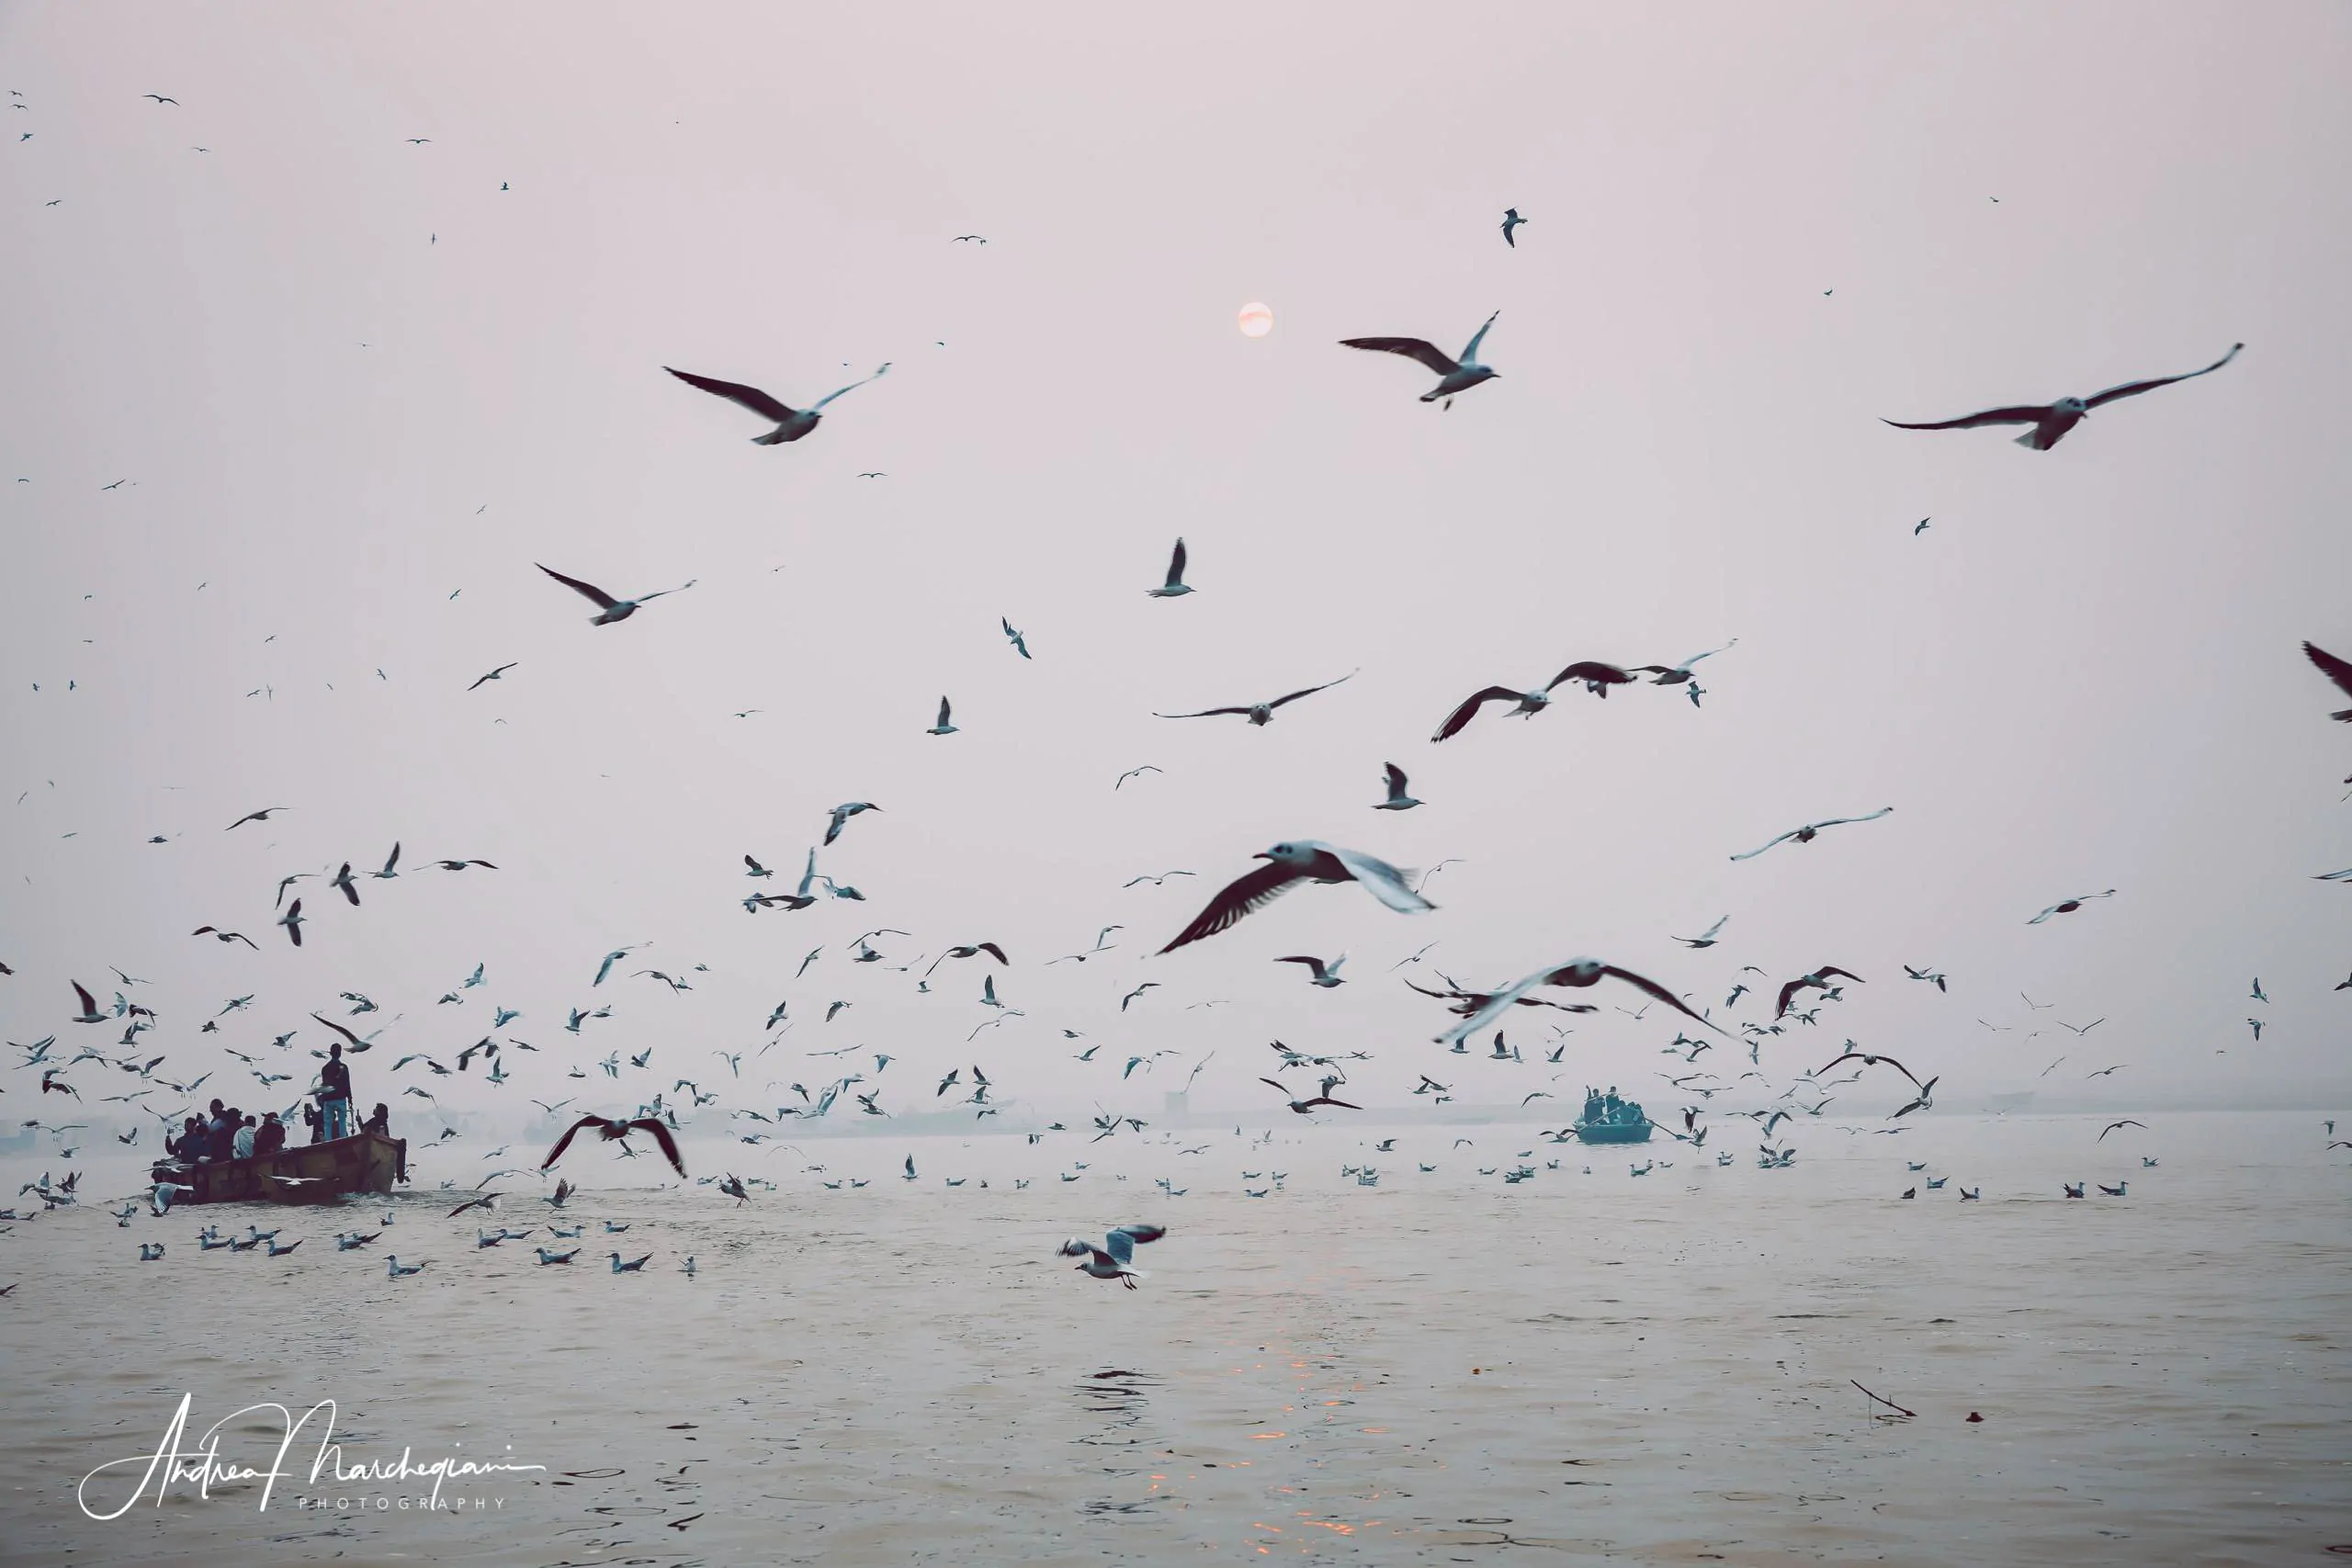
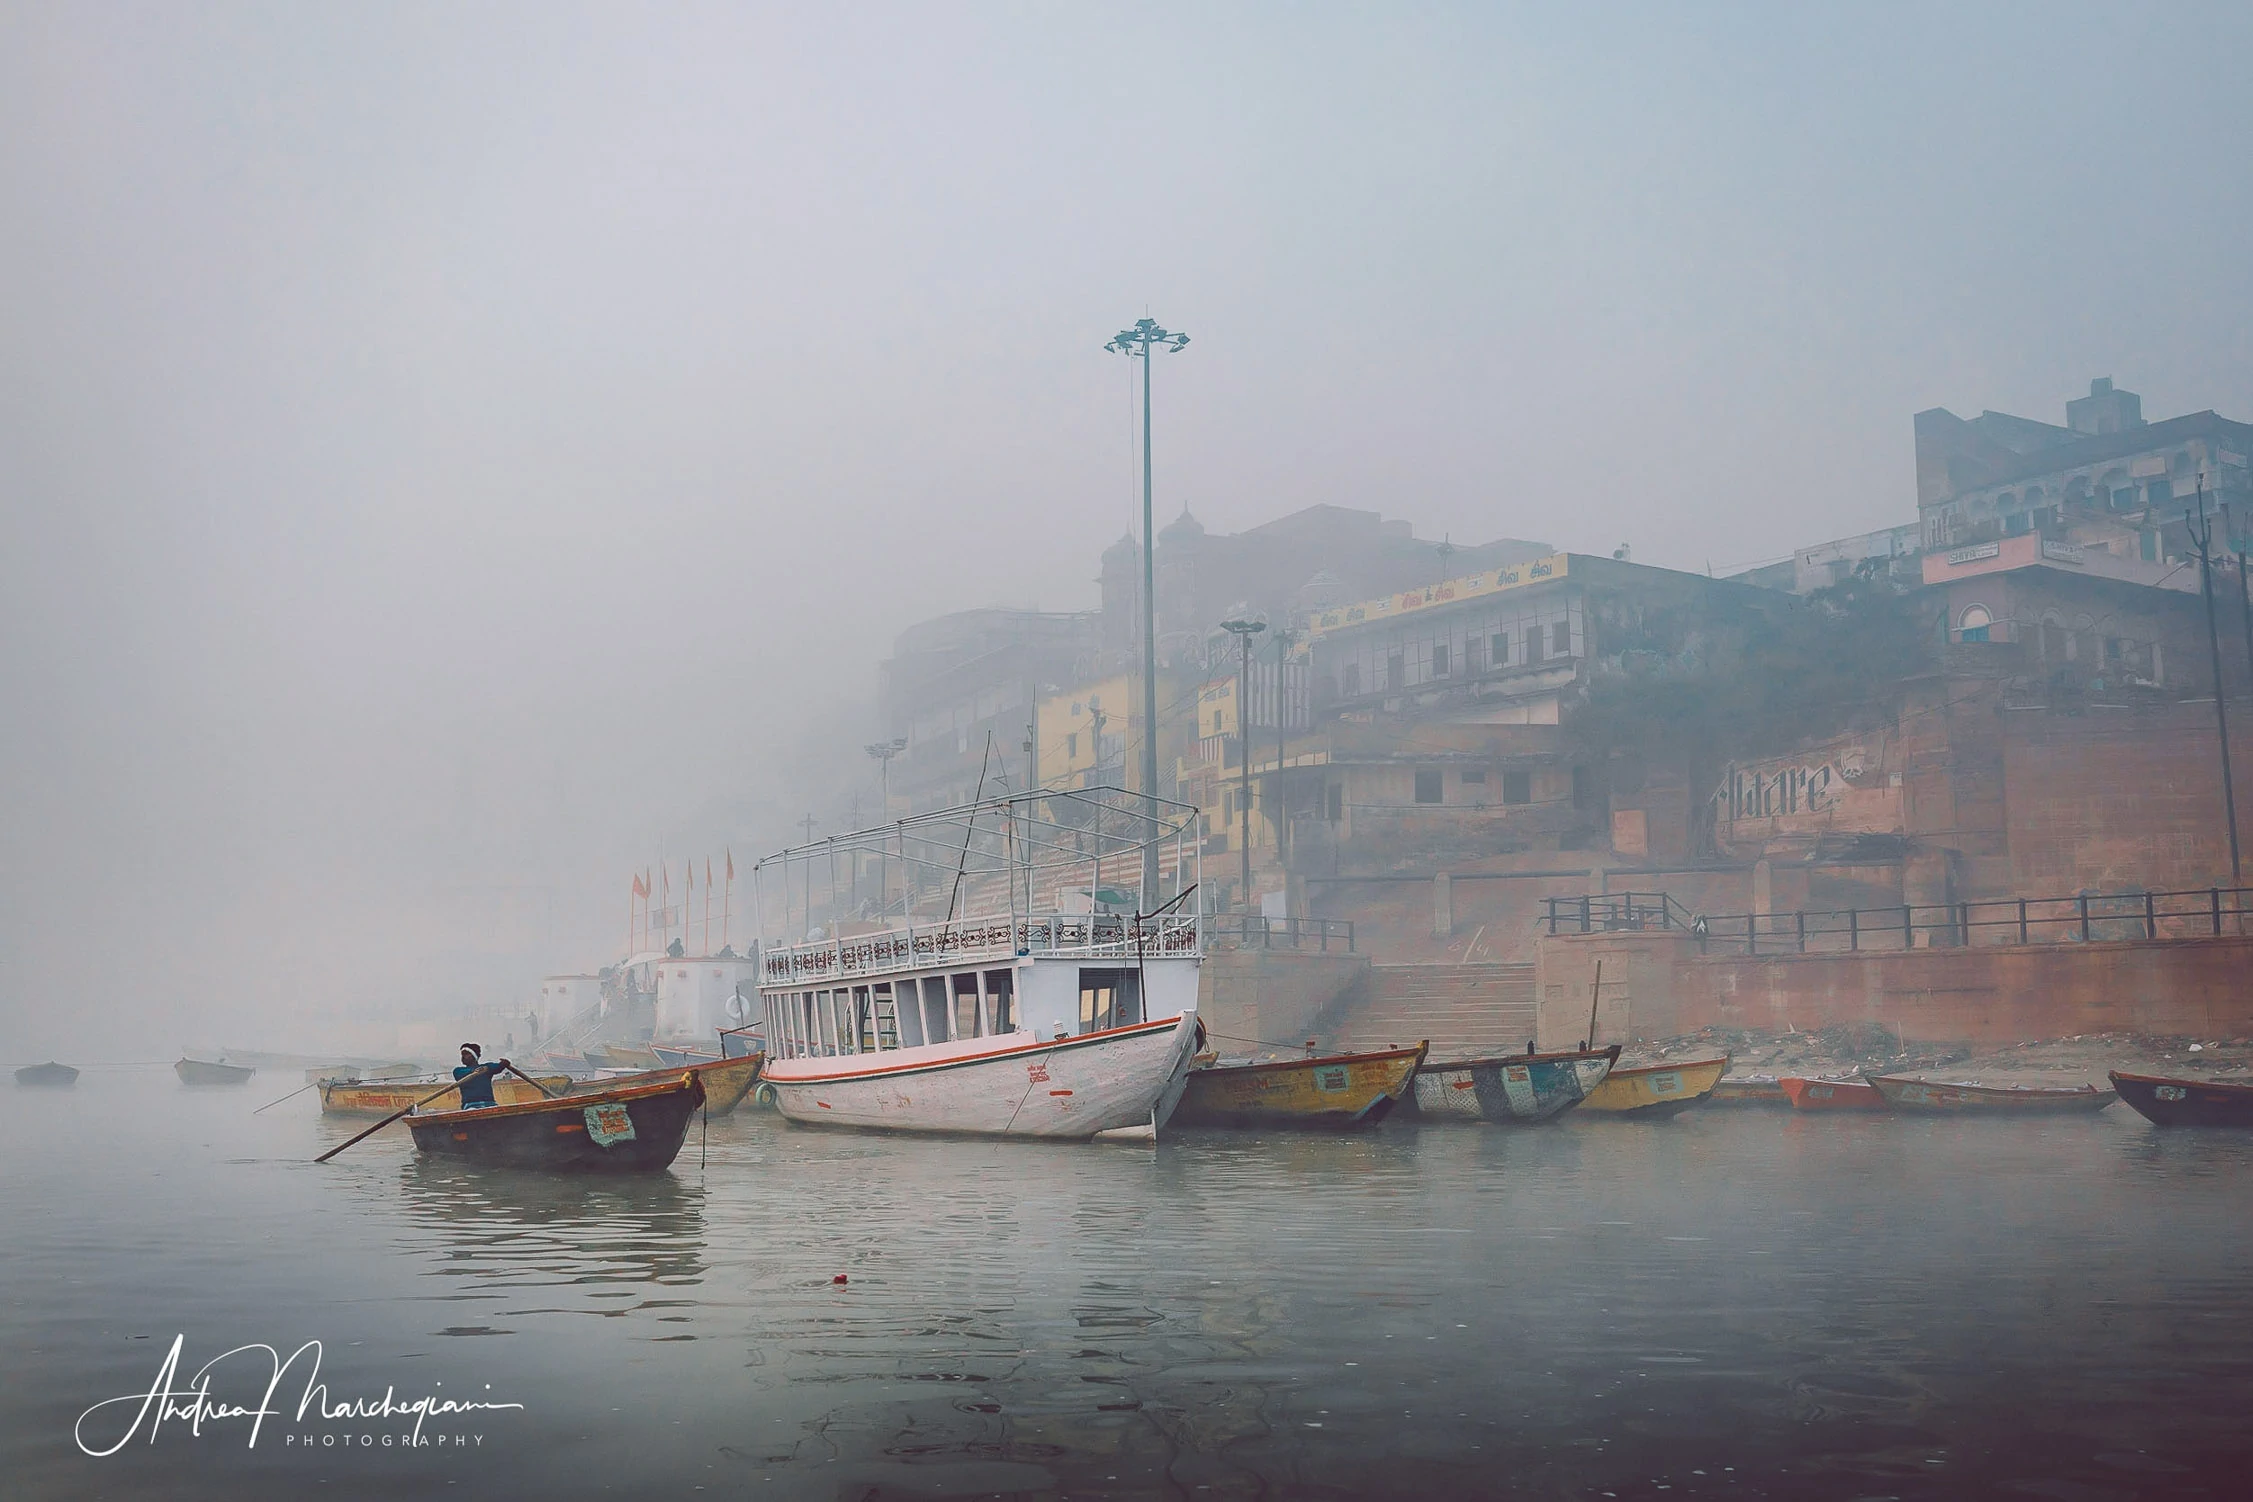
During my stay in Varanasi last December, I encountered opposite lighting conditions. The sun rarely made an appearance. A thick blanket of fog enveloped the outlines of the ghats. At first, I was disappointed because India is known for its vibrant colors, and I was hoping for a glimpse of sunlight to make them pop. However, in hindsight, I couldn’t have asked for a better situation to give magic and mystery to my shots, which portray an unusual and evocative Varanasi.
Professional Portraits
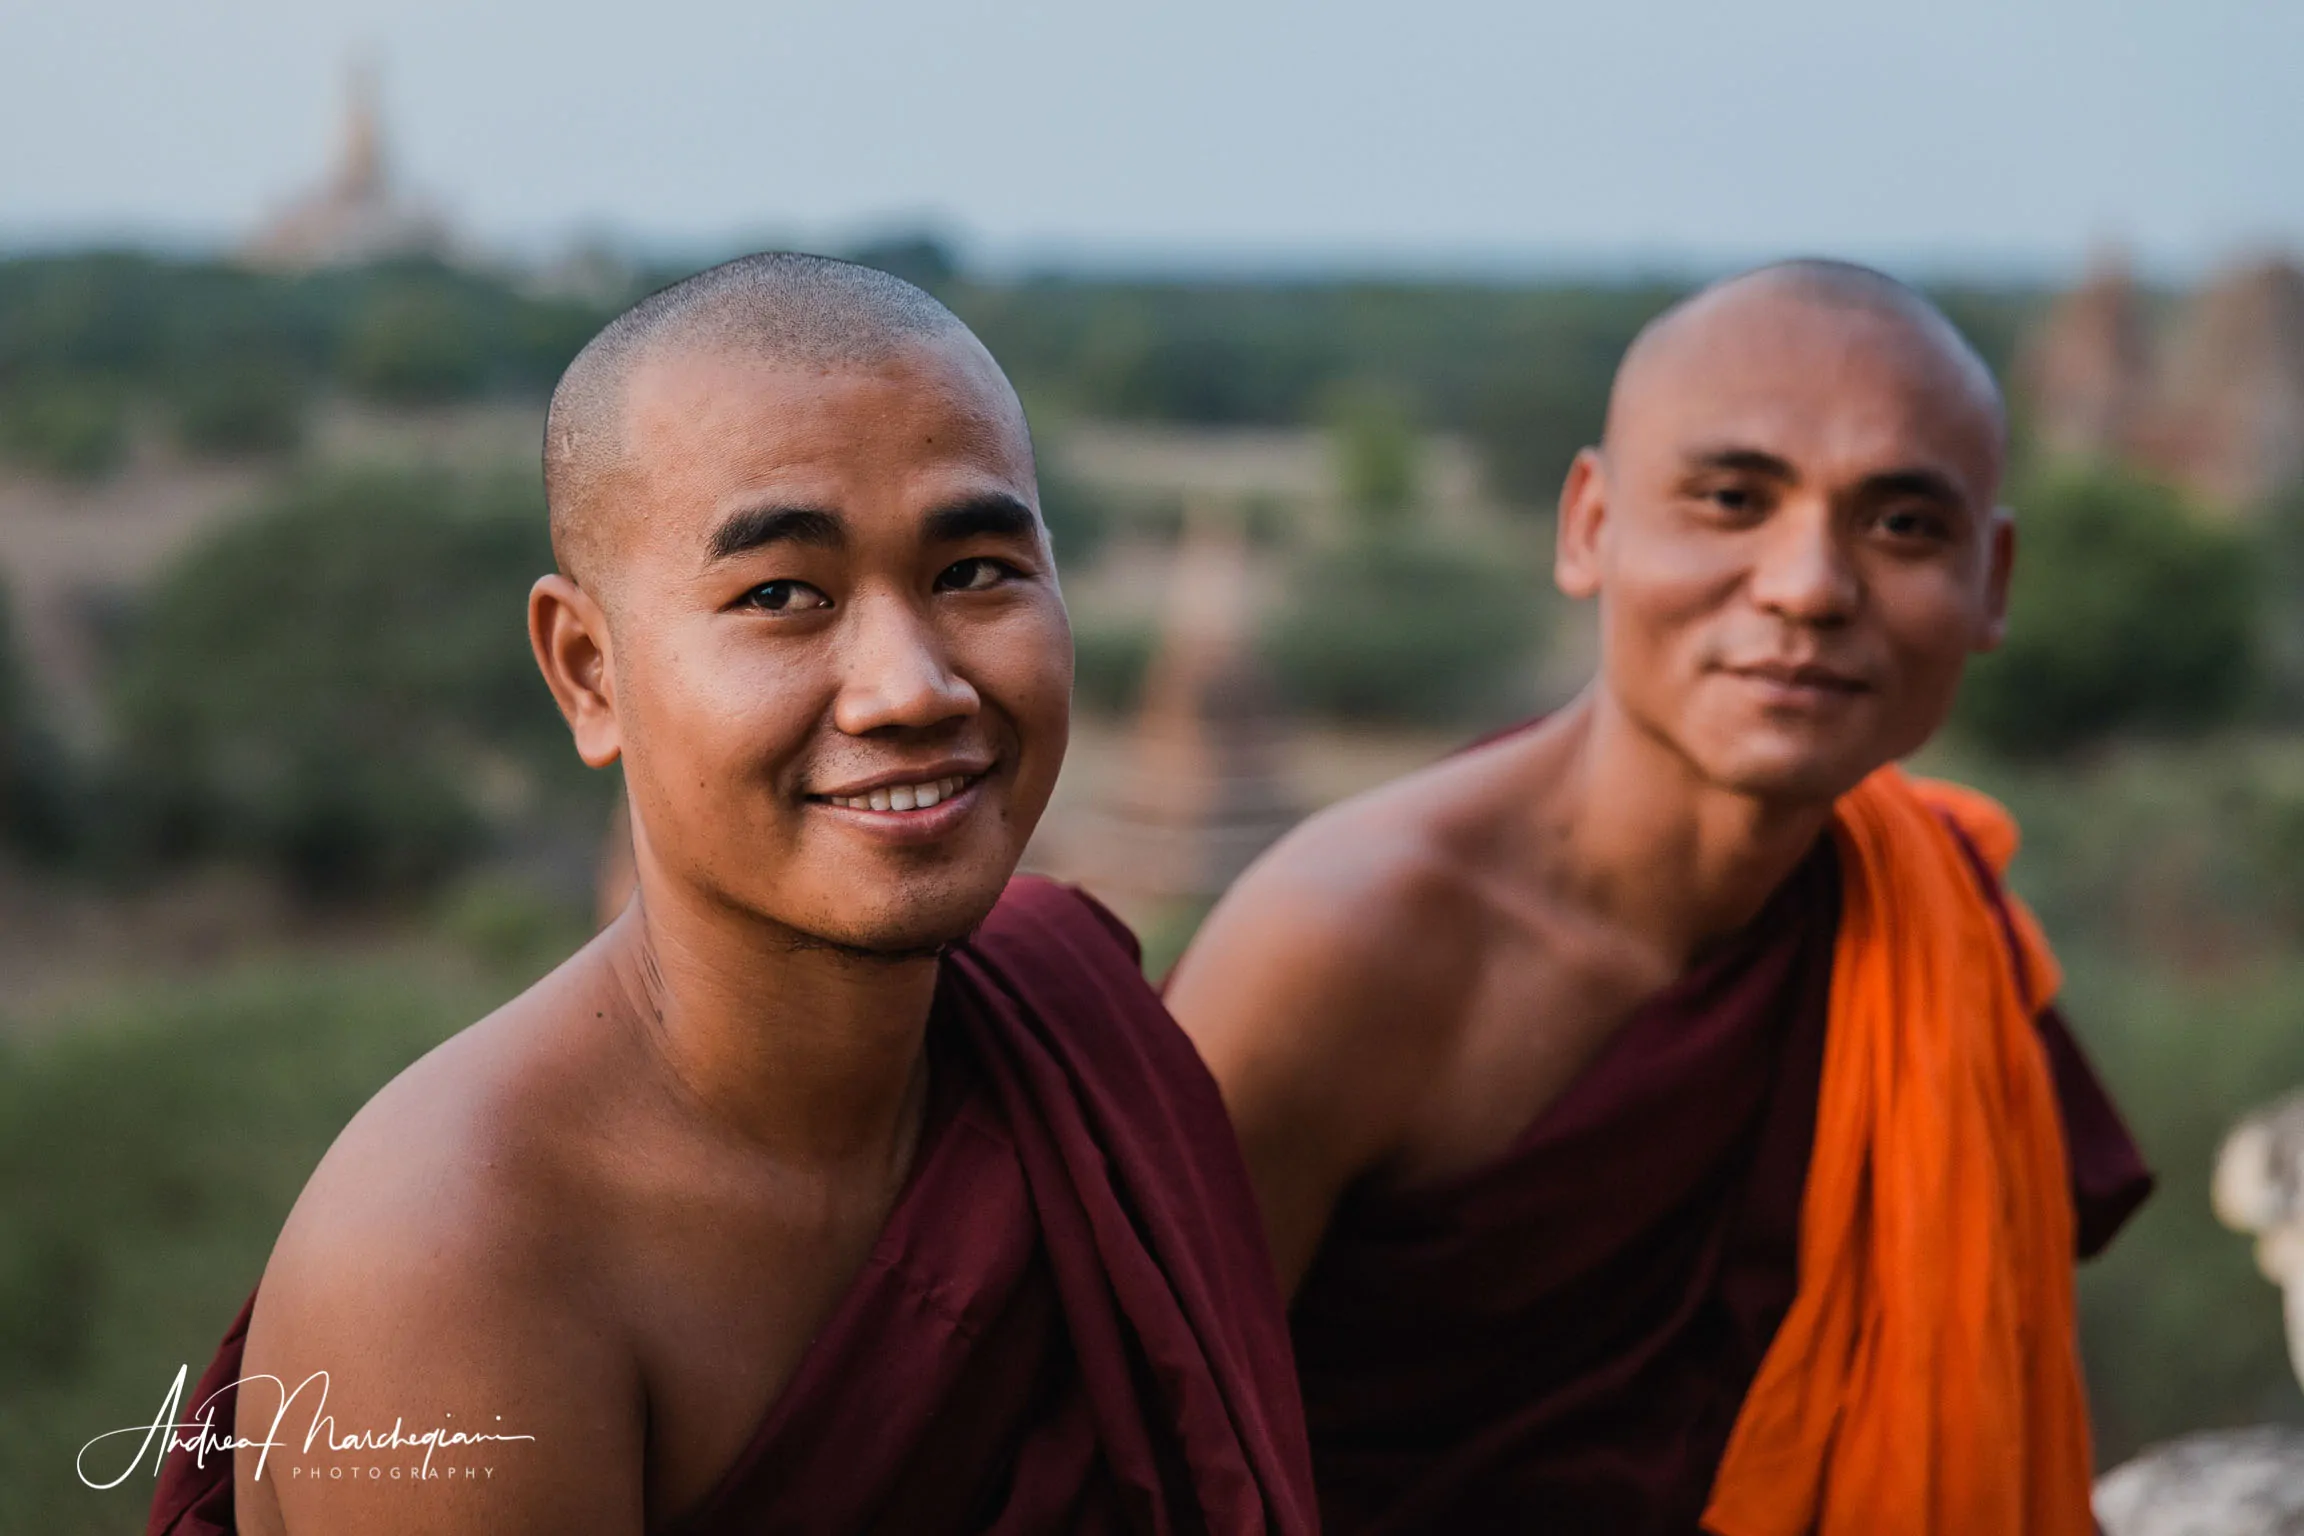
One of the most common mistakes in portraits is not due to the equipment, but to composition. We should try to be at eye level with the subject to avoid shooting from below or above (unless we are aiming for specific dramatic effects). If we allow the subject to look straight into the camera and know how to interact with empathy, we may capture unexpected inner worlds.
With a mid-range zoom lens, since we can’t achieve a “cinematic” bokeh through aperture, we should work on focal length. By taking a few steps back and adjusting the zoom to the maximum, we can achieve relatively soft backgrounds even at f5.6. If, instead, we decide to shoot with a wide-angle lens, we should consider whether the exaggerated effect we’ll get is truly what we’re looking for.
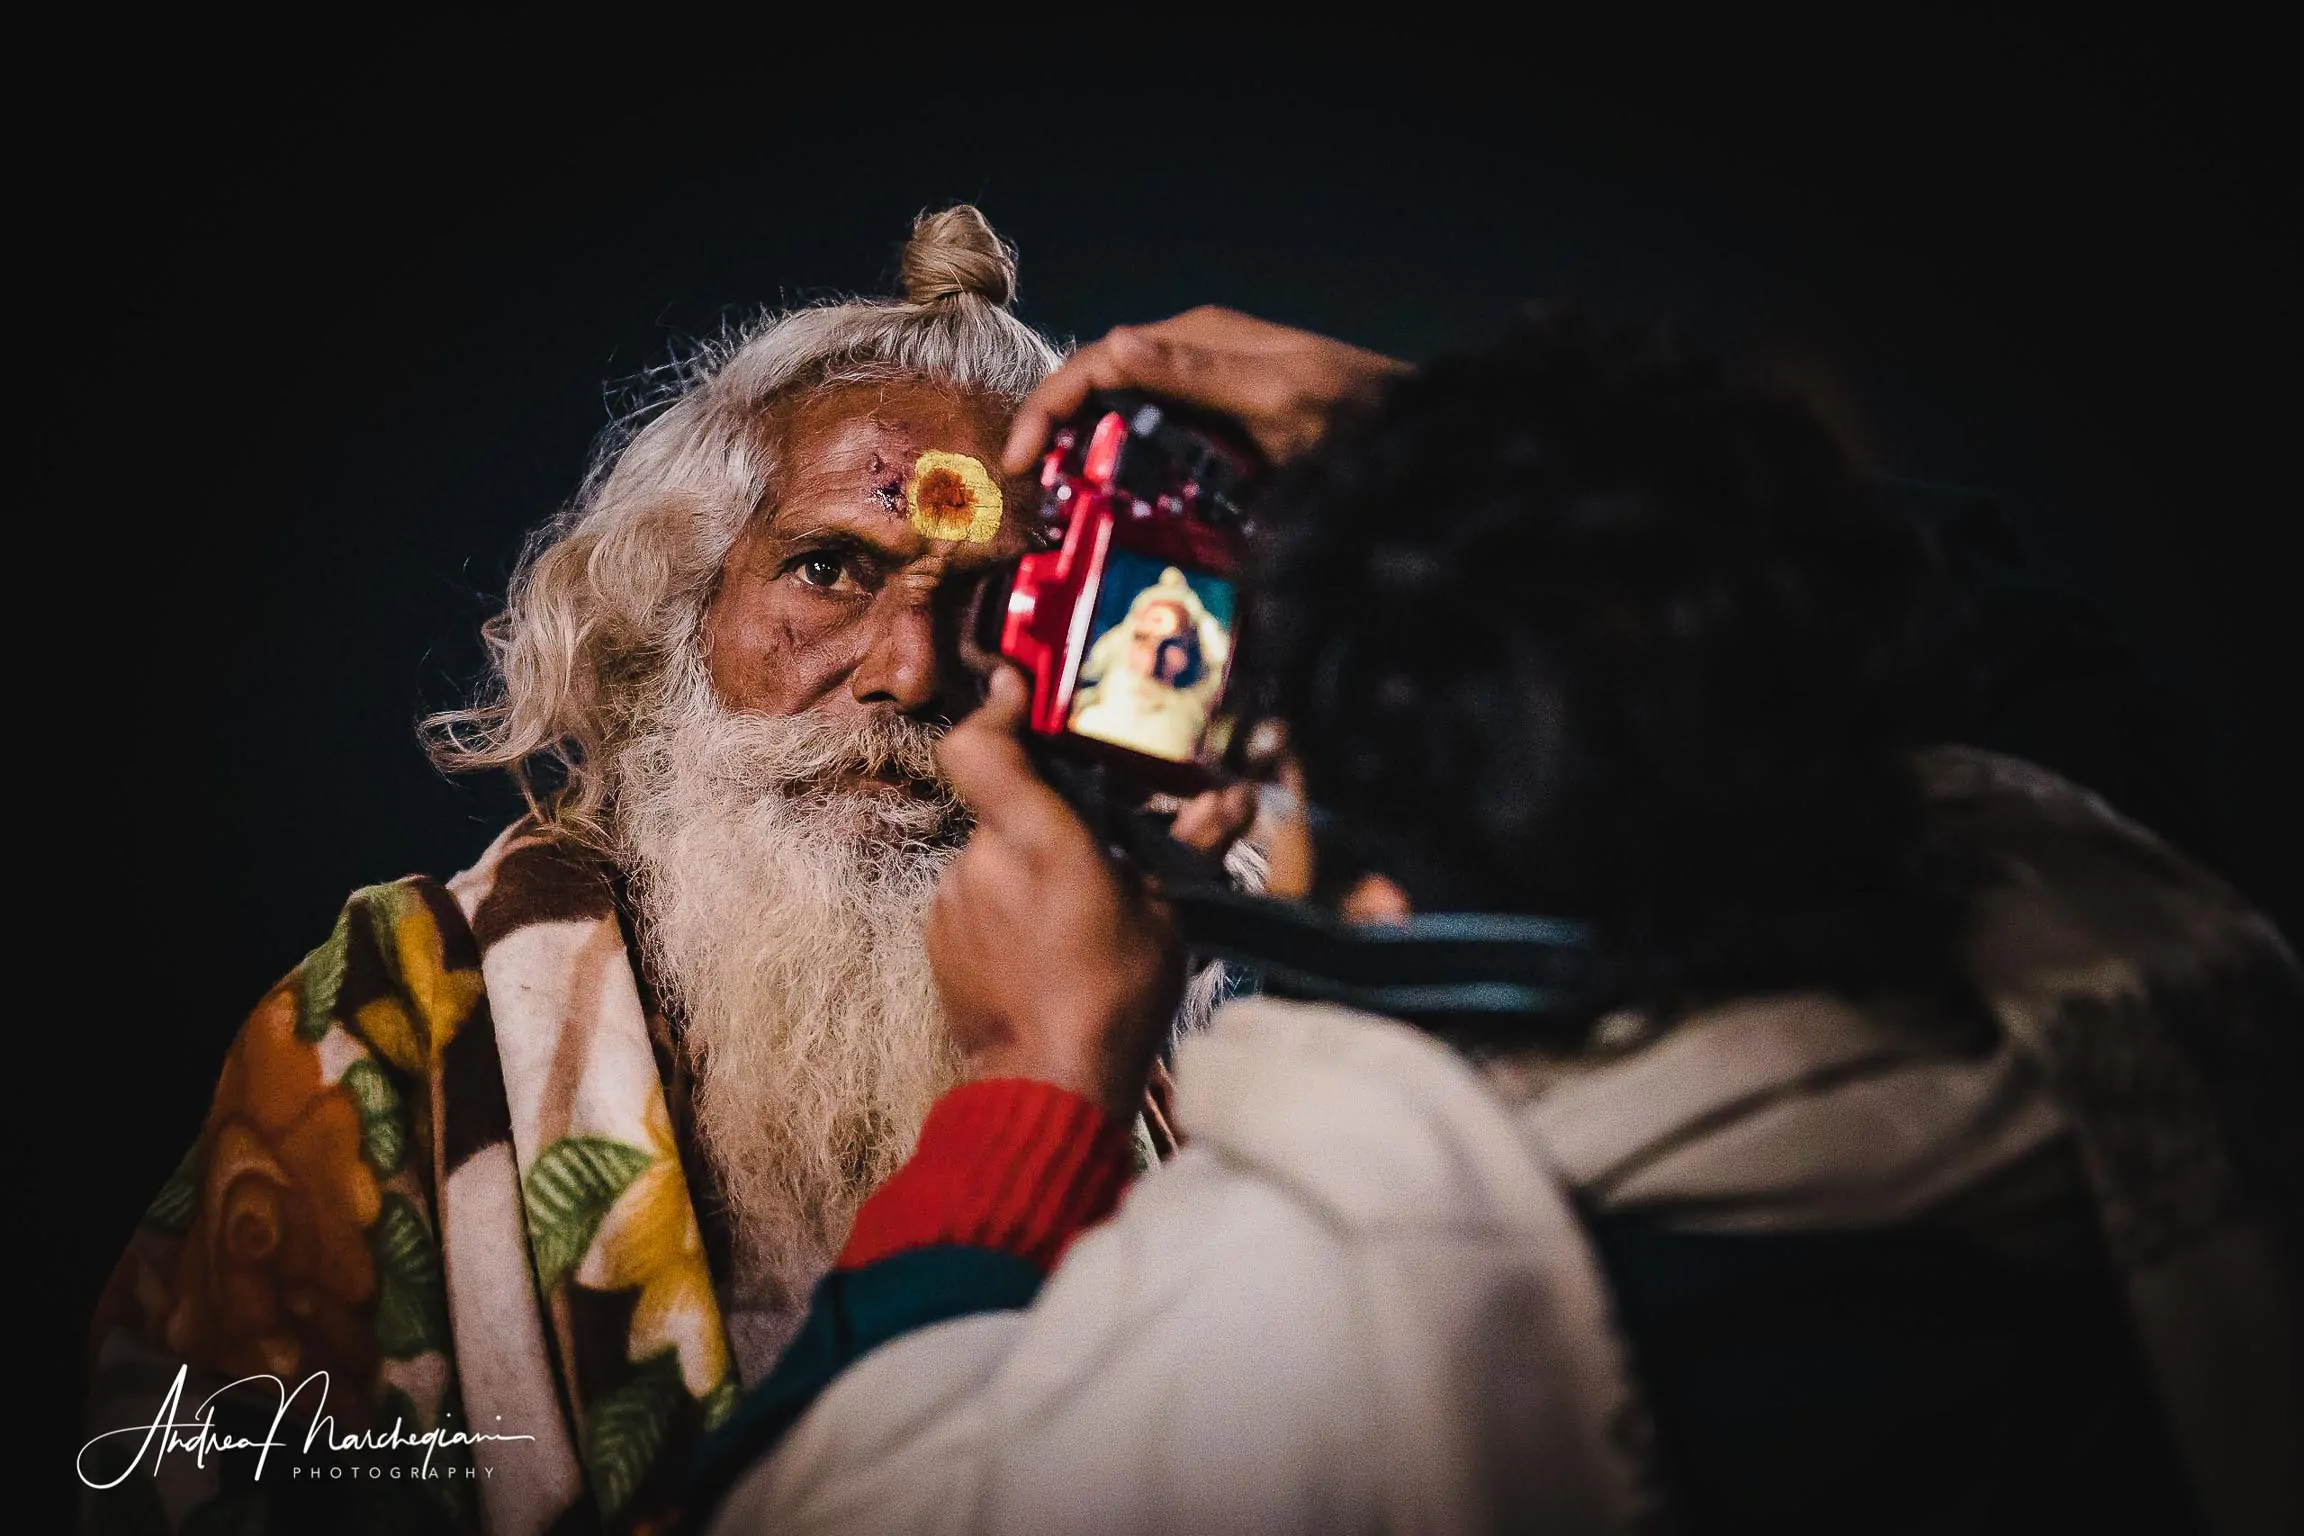
And make sure not to embarrass the subject of the photo. In Varanasi, I witnessed an unbearable scene: at night, a tourist bothered a baba trying to take an extreme close-up with a wide-angle lens. He was only a few inches away from his face, continuously flashing lights in his eyes. The holy man patiently endured it all, but in my opinion, it is never worth behaving disrespectfully, even for the photo of the year.
Take advantage of low light
Do some tests at home to determine how to manage ISO and noise. Understand precisely what the limit is for your camera body. If you have the option in the menu, set automatic ISO within this safety range.
When you’re traveling and the light starts to diminish, you can extend your photography activity by zooming in with a wide-angle lens. When shooting handheld, the longest shutter speed to avoid blur is equal to the inverse of the focal length. Personally, I don’t have a very steady hand, so I shoot at least at 1/200 with a 100mm lens, while at 24mm, 1/50 is sufficient for me. In any case, instead of taking a portrait with a 105mm lens at f4 after sunset, I prefer to get closer to the subject and take a wide-angle shot with a longer shutter speed. This way, I manage to avoid raising the ISO too much for at least half an hour.
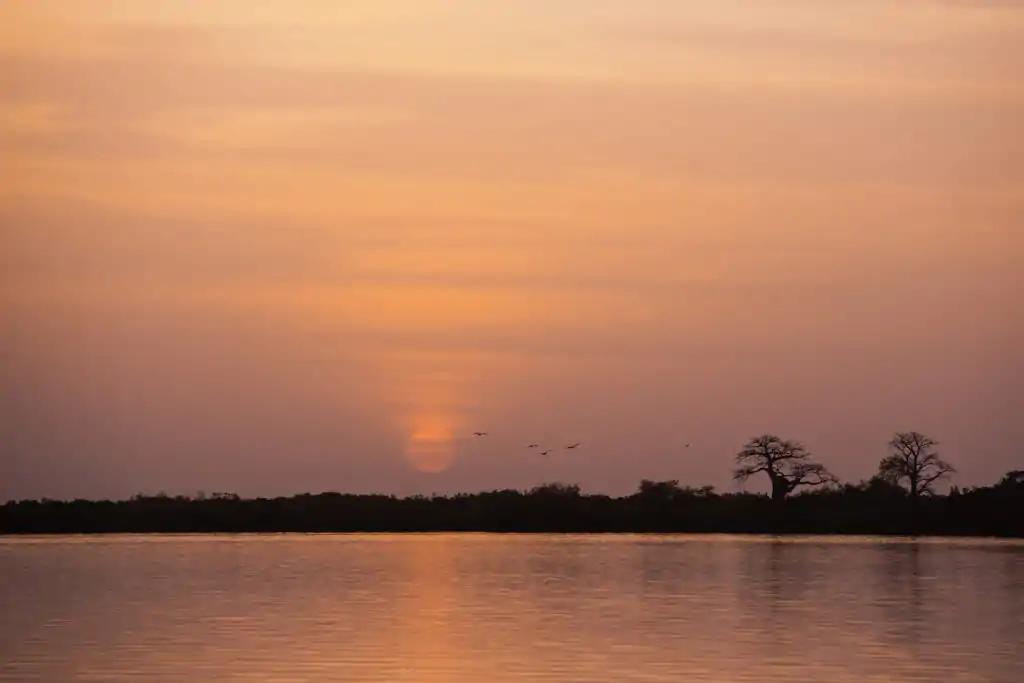
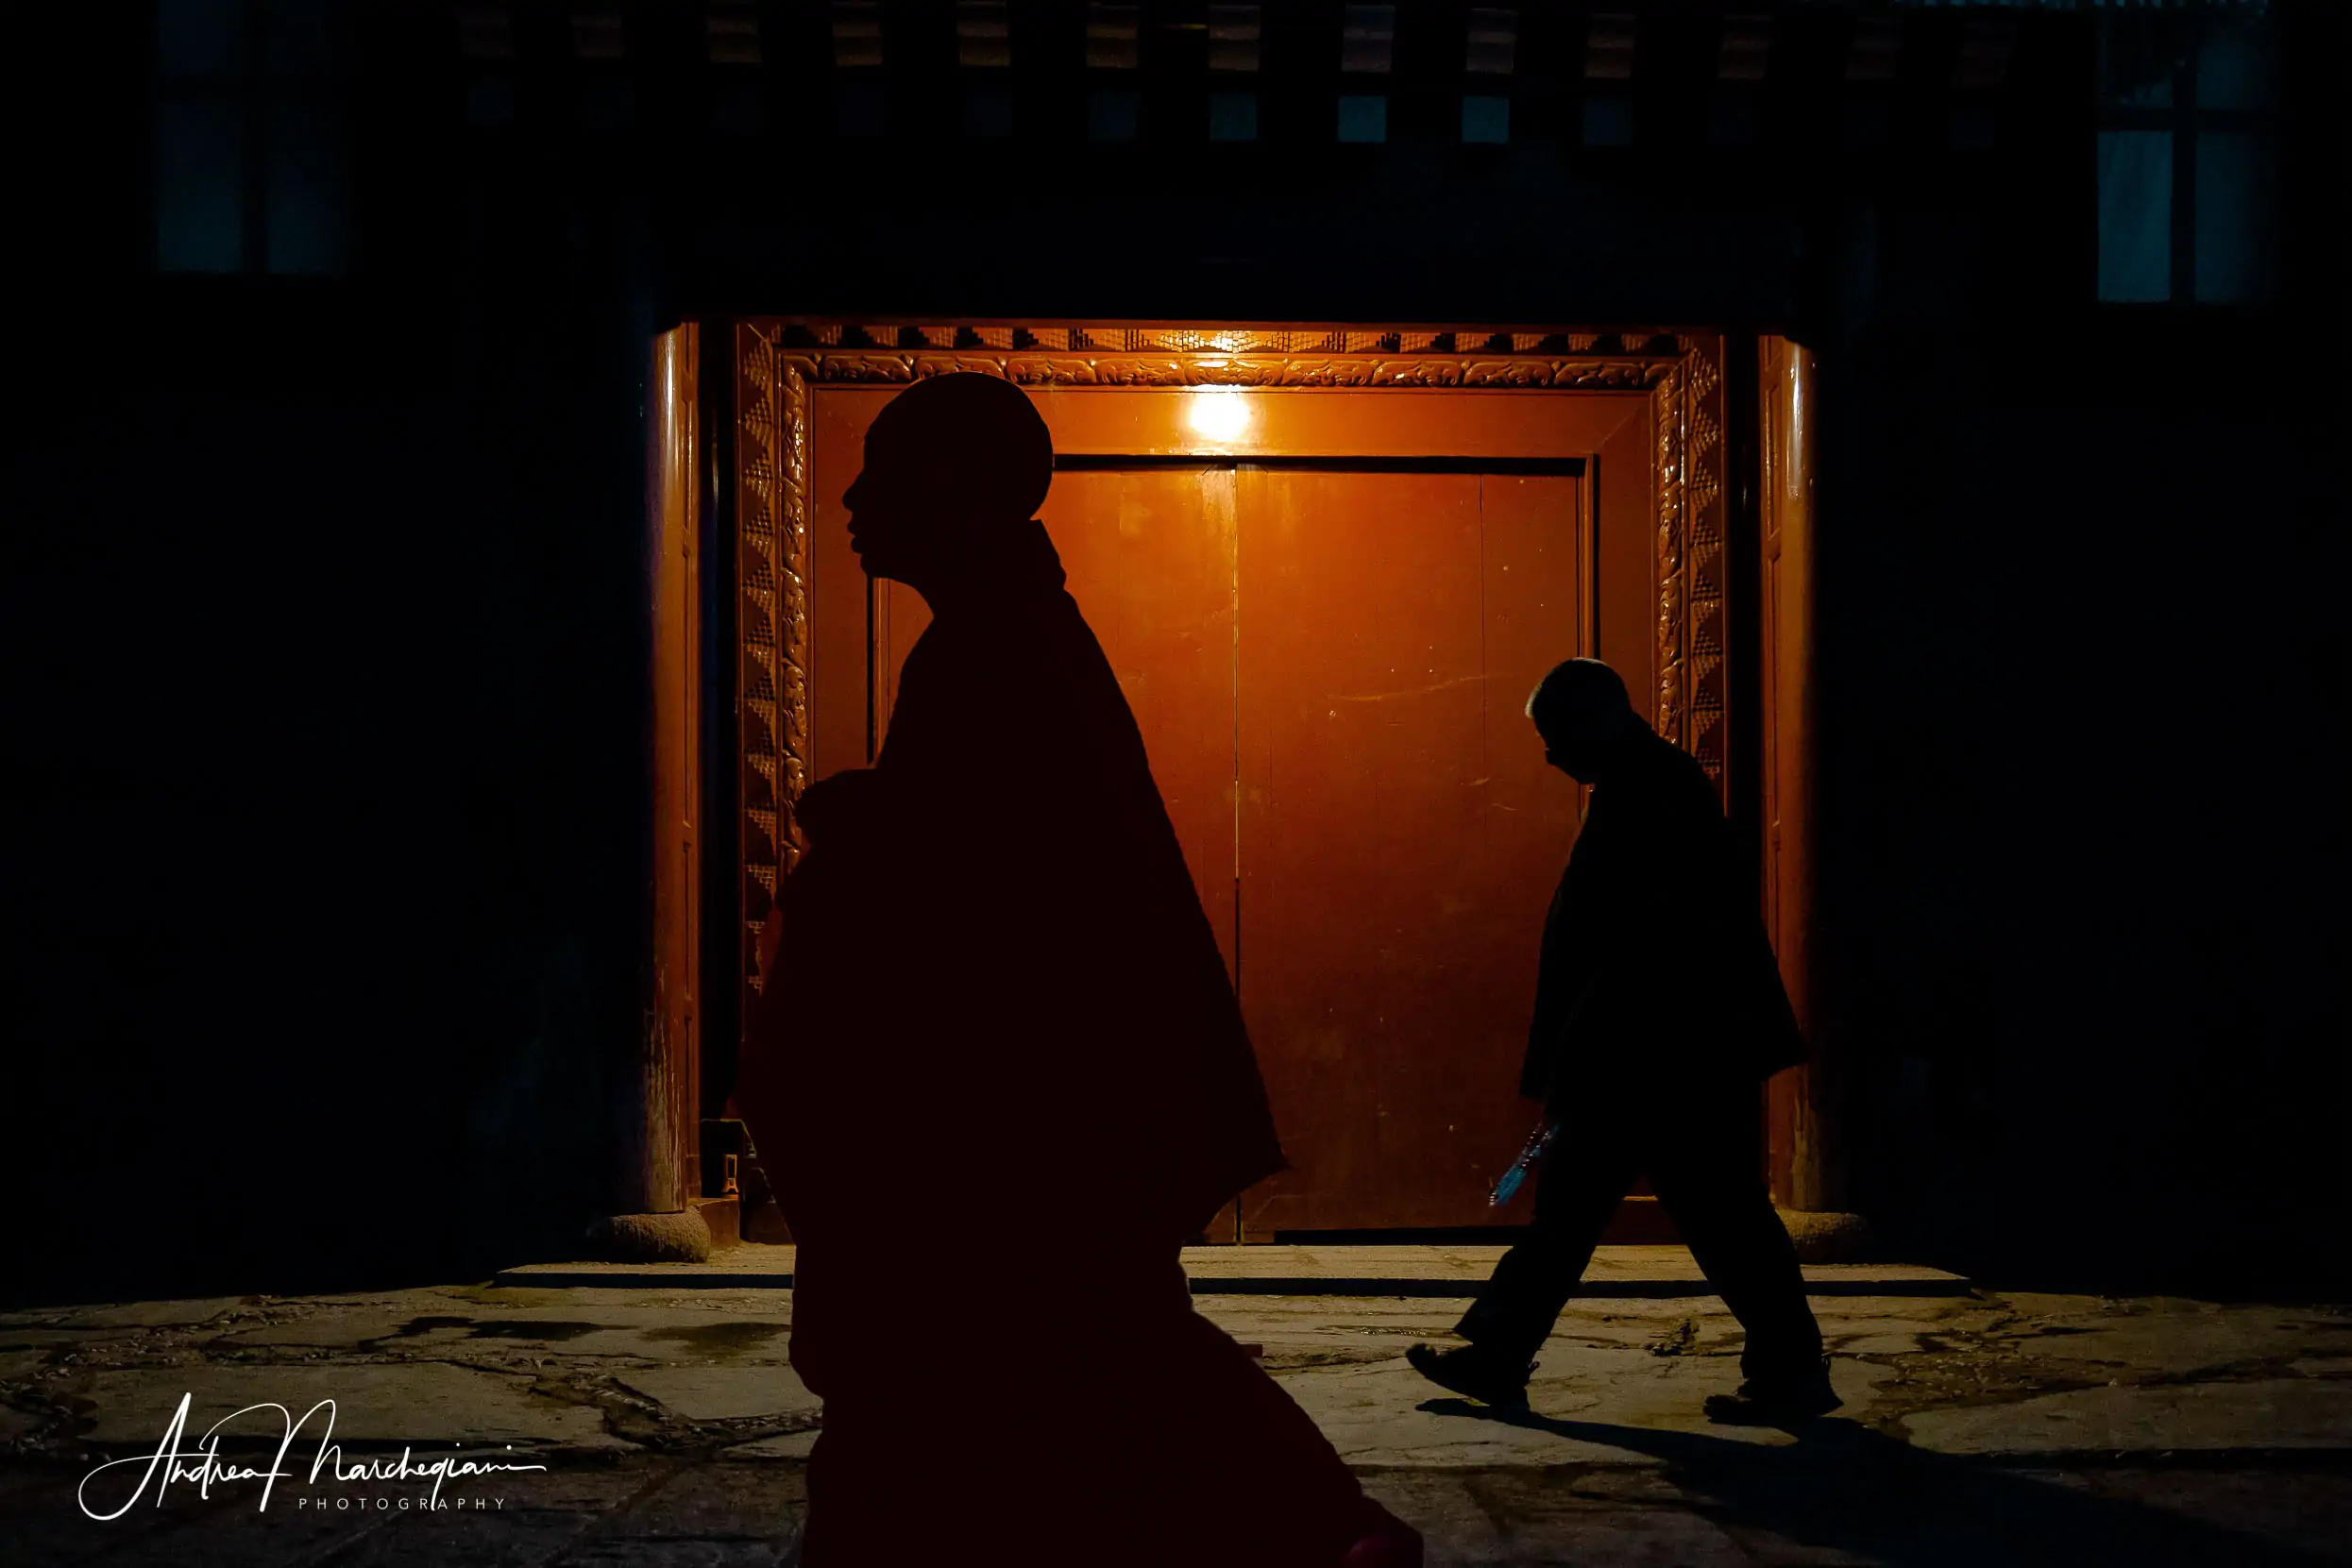
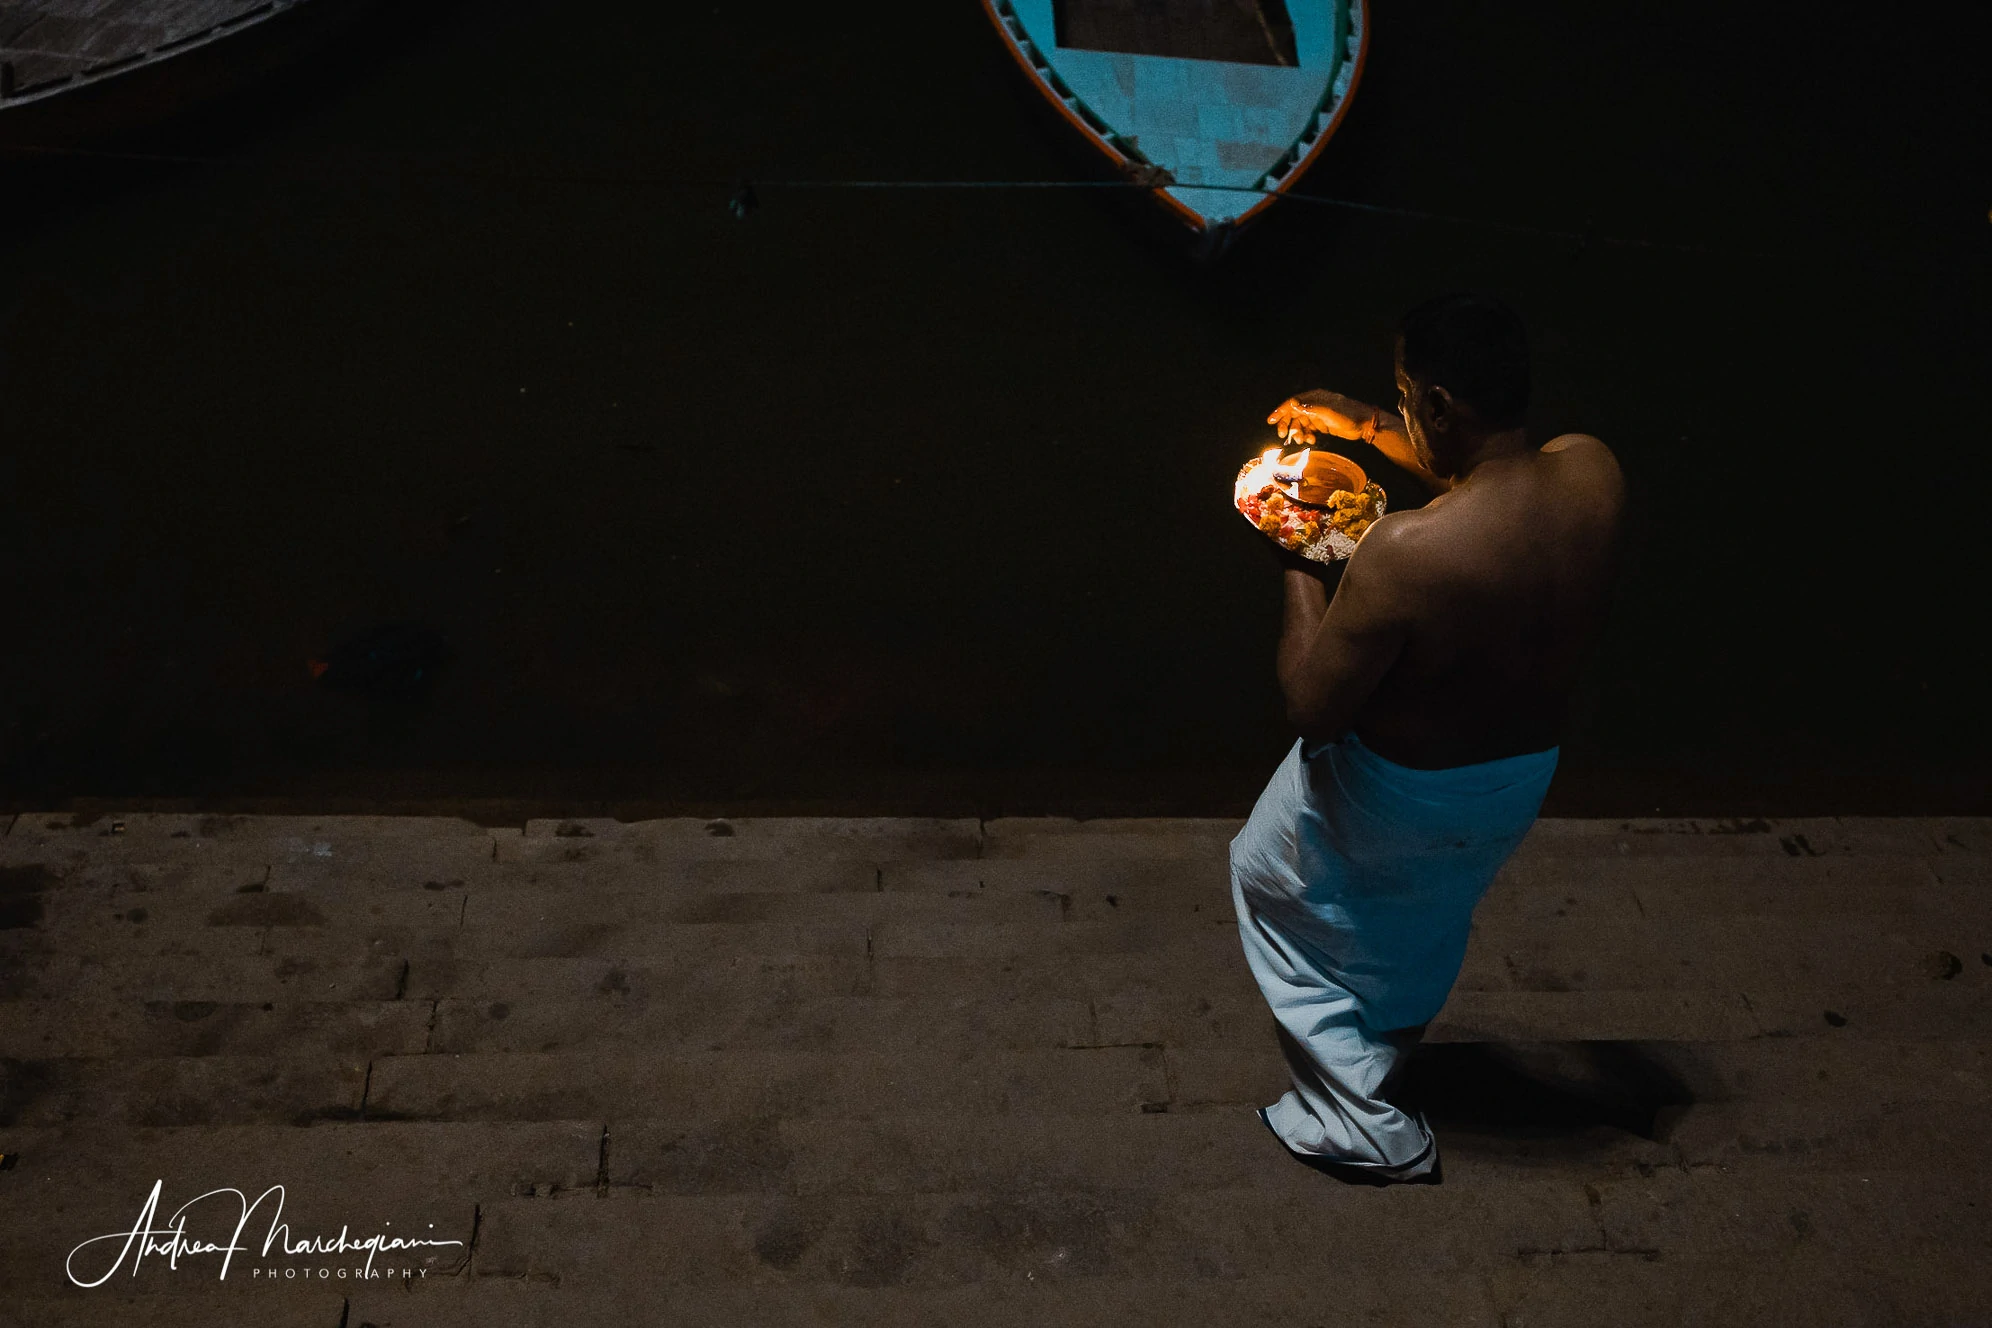
Another tip is to remember to use backlighting, especially when you don’t have sufficient light on your subjects. Adjust the exposure based on the brightness of the background to achieve magnificent silhouettes. Don’t just limit yourself to photographing people’s outlines, no matter how incredibly interesting they are. The skyline of a landscape can also offer great satisfaction.
What you can’t do with a lightweight backpack
Telephoto lenses are, by definition, the bulkiest and heaviest optics on the market. They don’t exactly go hand in hand with the idea of traveling with agility.
Nevertheless, there are trips that cannot be photographed otherwise. If you’re about to go on a safari in Africa, don’t expect to capture wild animals with a wide-angle or medium telephoto lens. My 70-200mm lens in Botswana didn’t always give me the desired results. I shared the jeep with amateur photographers who obtained enviable close-ups with their 18-300mm zoom lens. At the same time, however, they could only shoot during the central hours of the day. With its f6.3 aperture at 300mm, this zoom lens doesn’t perform well in the evening hours. I complained about not having a more powerful telephoto lens, while they lamented the lack of aperture! If we want to travel with a light equipment, we must accept the drawbacks of our choice or at least be aware of them.
Don’t put away your camera
It may seem like obvious advice, but many of the photos I regret not taking are ones I missed because I had put away my camera. Even if you’re tired, try not to do it. If you have the opportunity, invest in a compact prime lens (the classic 50mm is great, with its affordable cost and minimal size) and mount it on your camera body when you want to stop shooting. Most of the time, nothing interesting will happen, and you’ll forget that you still have the camera around your neck. But if suddenly an event catches your attention, you’ll be glad to have it within reach. And you’ll avoid unnecessary regrets.
Treat yourself with a mini tripod
Even if you don’t intend to do nighttime photography, pack a mini tripod in your suitcase. You never know what inspirations can arise from unexpected landscapes. A mini tripod will allow you not to rule out the possibility of long-exposure shots in advance and won’t burden your shoulders. Be creative: you can use any windowsill, small wall, table, or the roof of a car to elevate the mini tripod from the ground. Just remember to pack it in your suitcase before you depart, not in your bag. It’s considered a potentially hazardous item and wouldn’t pass airport security checks as carry-on luggage.
BIO | Andrea Marchegiani is a travel photographer and blogger. He holds a degree in Cinema and Screenwriting from DAMS (Disciplines of Art, Music, and Entertainment Studies) with a thesis on road movies. He furthered his studies by attending courses on journalism, photography, video shooting, and editing. A deep interest in foreign peoples and cultures drives him to visit destinations that are less frequented by mass tourism: Ecuador, Kazakhstan, Myanmar, China, Nepal, Ethiopia, Botswana… In his travel blog, he combines his passion for photography with a love for writing.
Andrea Marchegiani collaborates with Domiad Photo Network, the largest national network dedicated to Photography, structured in Web Forums, Blogs, Official Channels on Facebook, Telegram, and Twitter, as well as being spread across the territory through the two official delegations of Canon Club Italia and Nikon Club Italia for each Italian region.


